
One of my favourite things from my wedding day were the flowers by the gorgeous Bec of Rox & Rabbit. Unfortunately, as with most good things, they had to meet a wilted, sad demise thanks to how Mama Nature works. EXCEPT that I was hell-bent on preserving some of my pretty posies because 1. I am a bit of a hoarder, 2. I was feeling sorry for myself post-wedding, and 3. those flowers were expensive, and I needed to milk them for all their worth.
So I decided to experiment with a few drying techniques which you too can use to stave off those post-wedding blues! I feel it was quite a success. And hopefully you'll remember this and be more prepared, instead of going troppo looking for silica gel just prior to leaving for your honeymoon.
So I decided to experiment with a few drying techniques which you too can use to stave off those post-wedding blues! I feel it was quite a success. And hopefully you'll remember this and be more prepared, instead of going troppo looking for silica gel just prior to leaving for your honeymoon.
For best results, use fresh (not semi-dead) stuff.
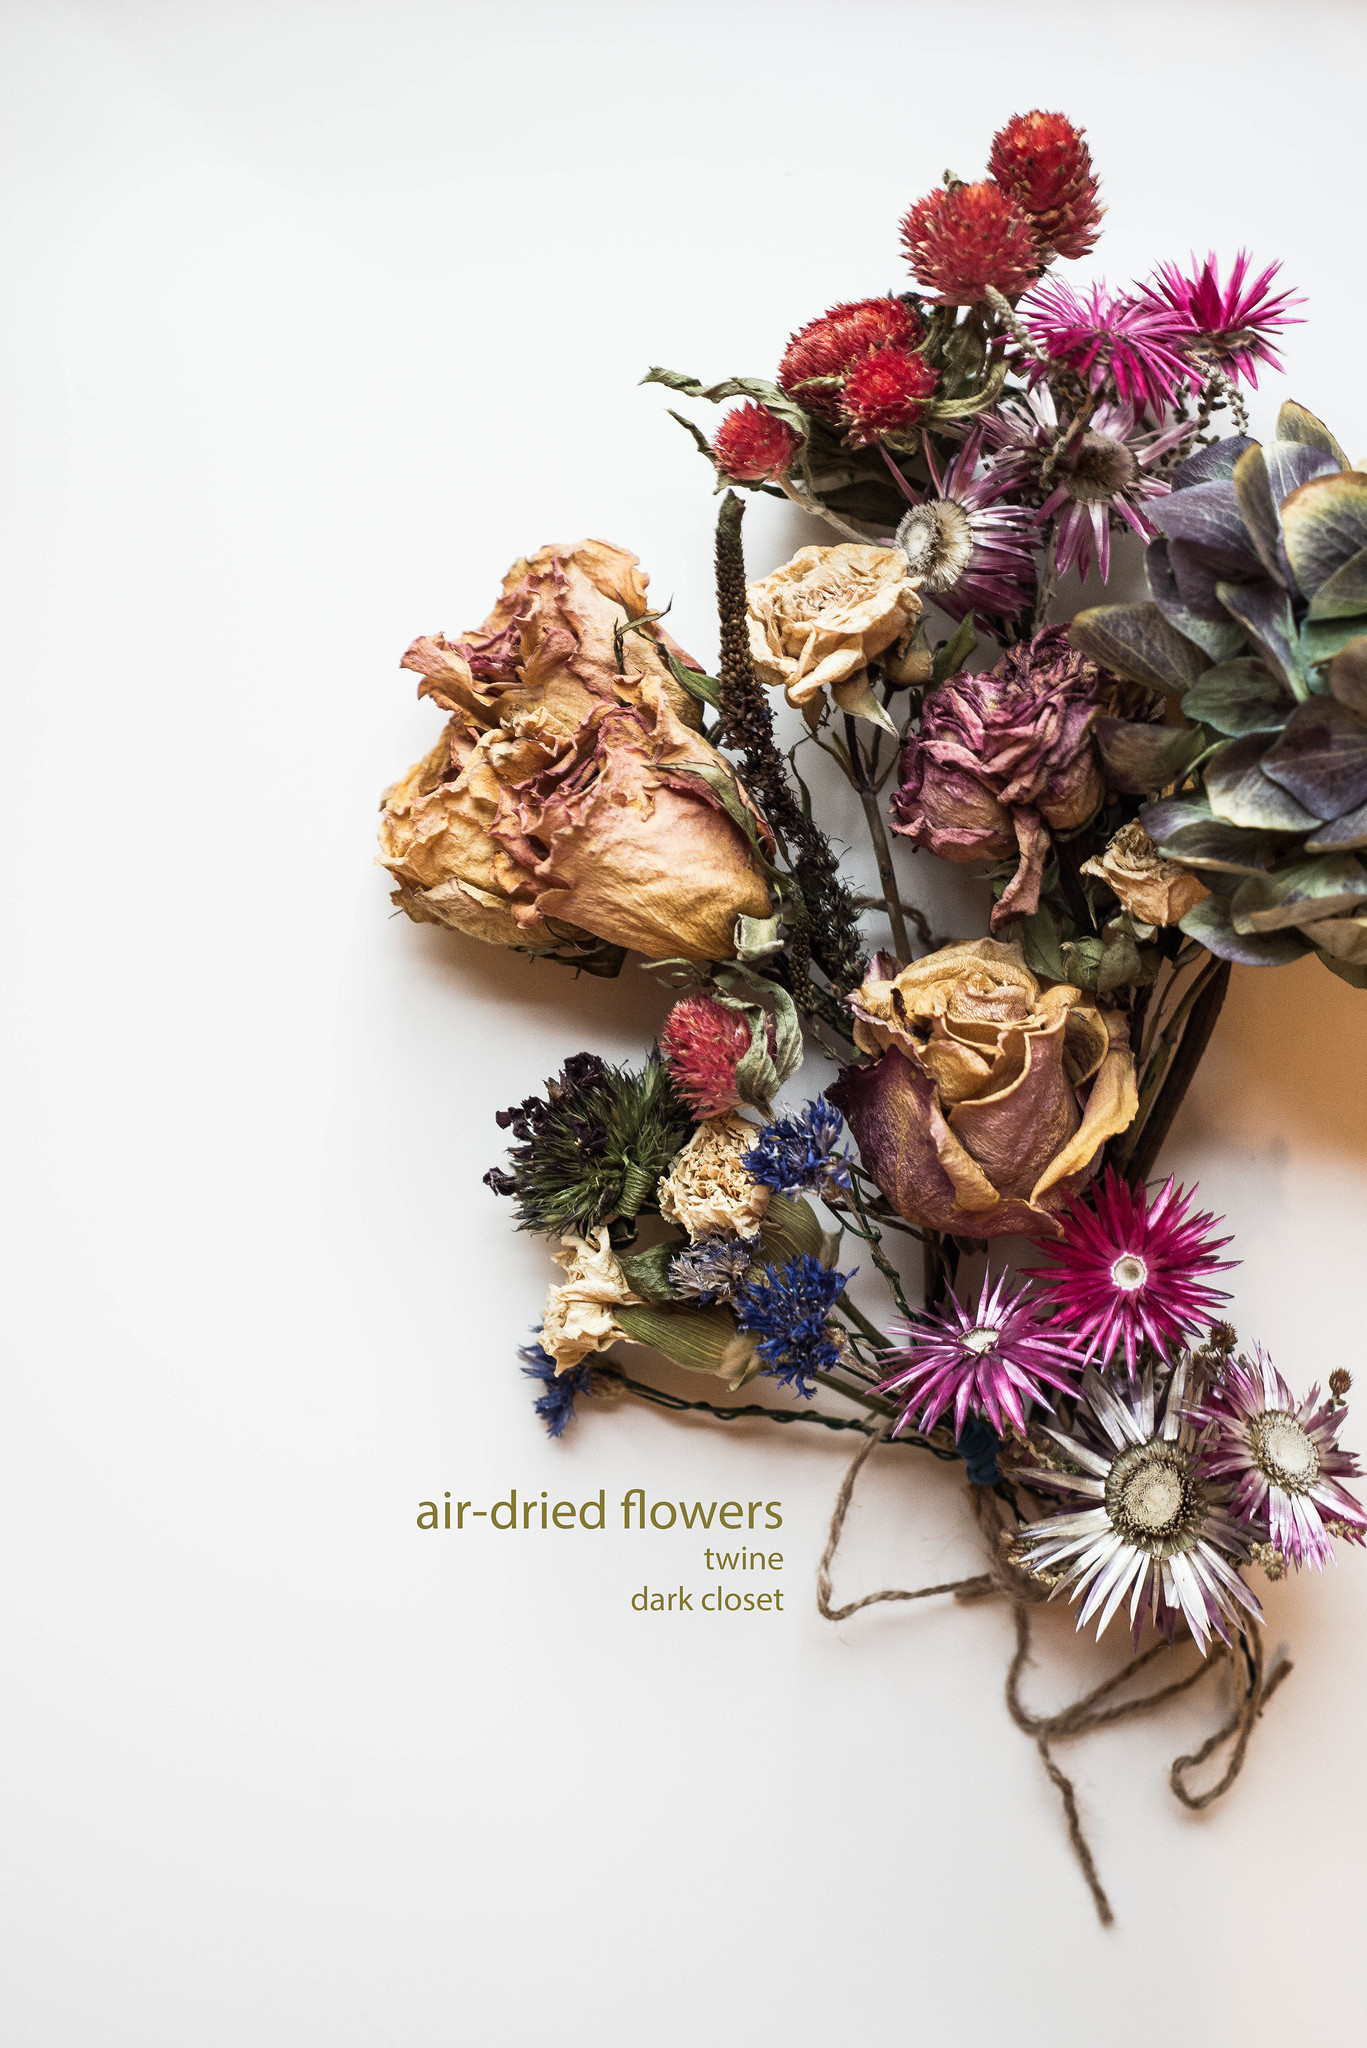
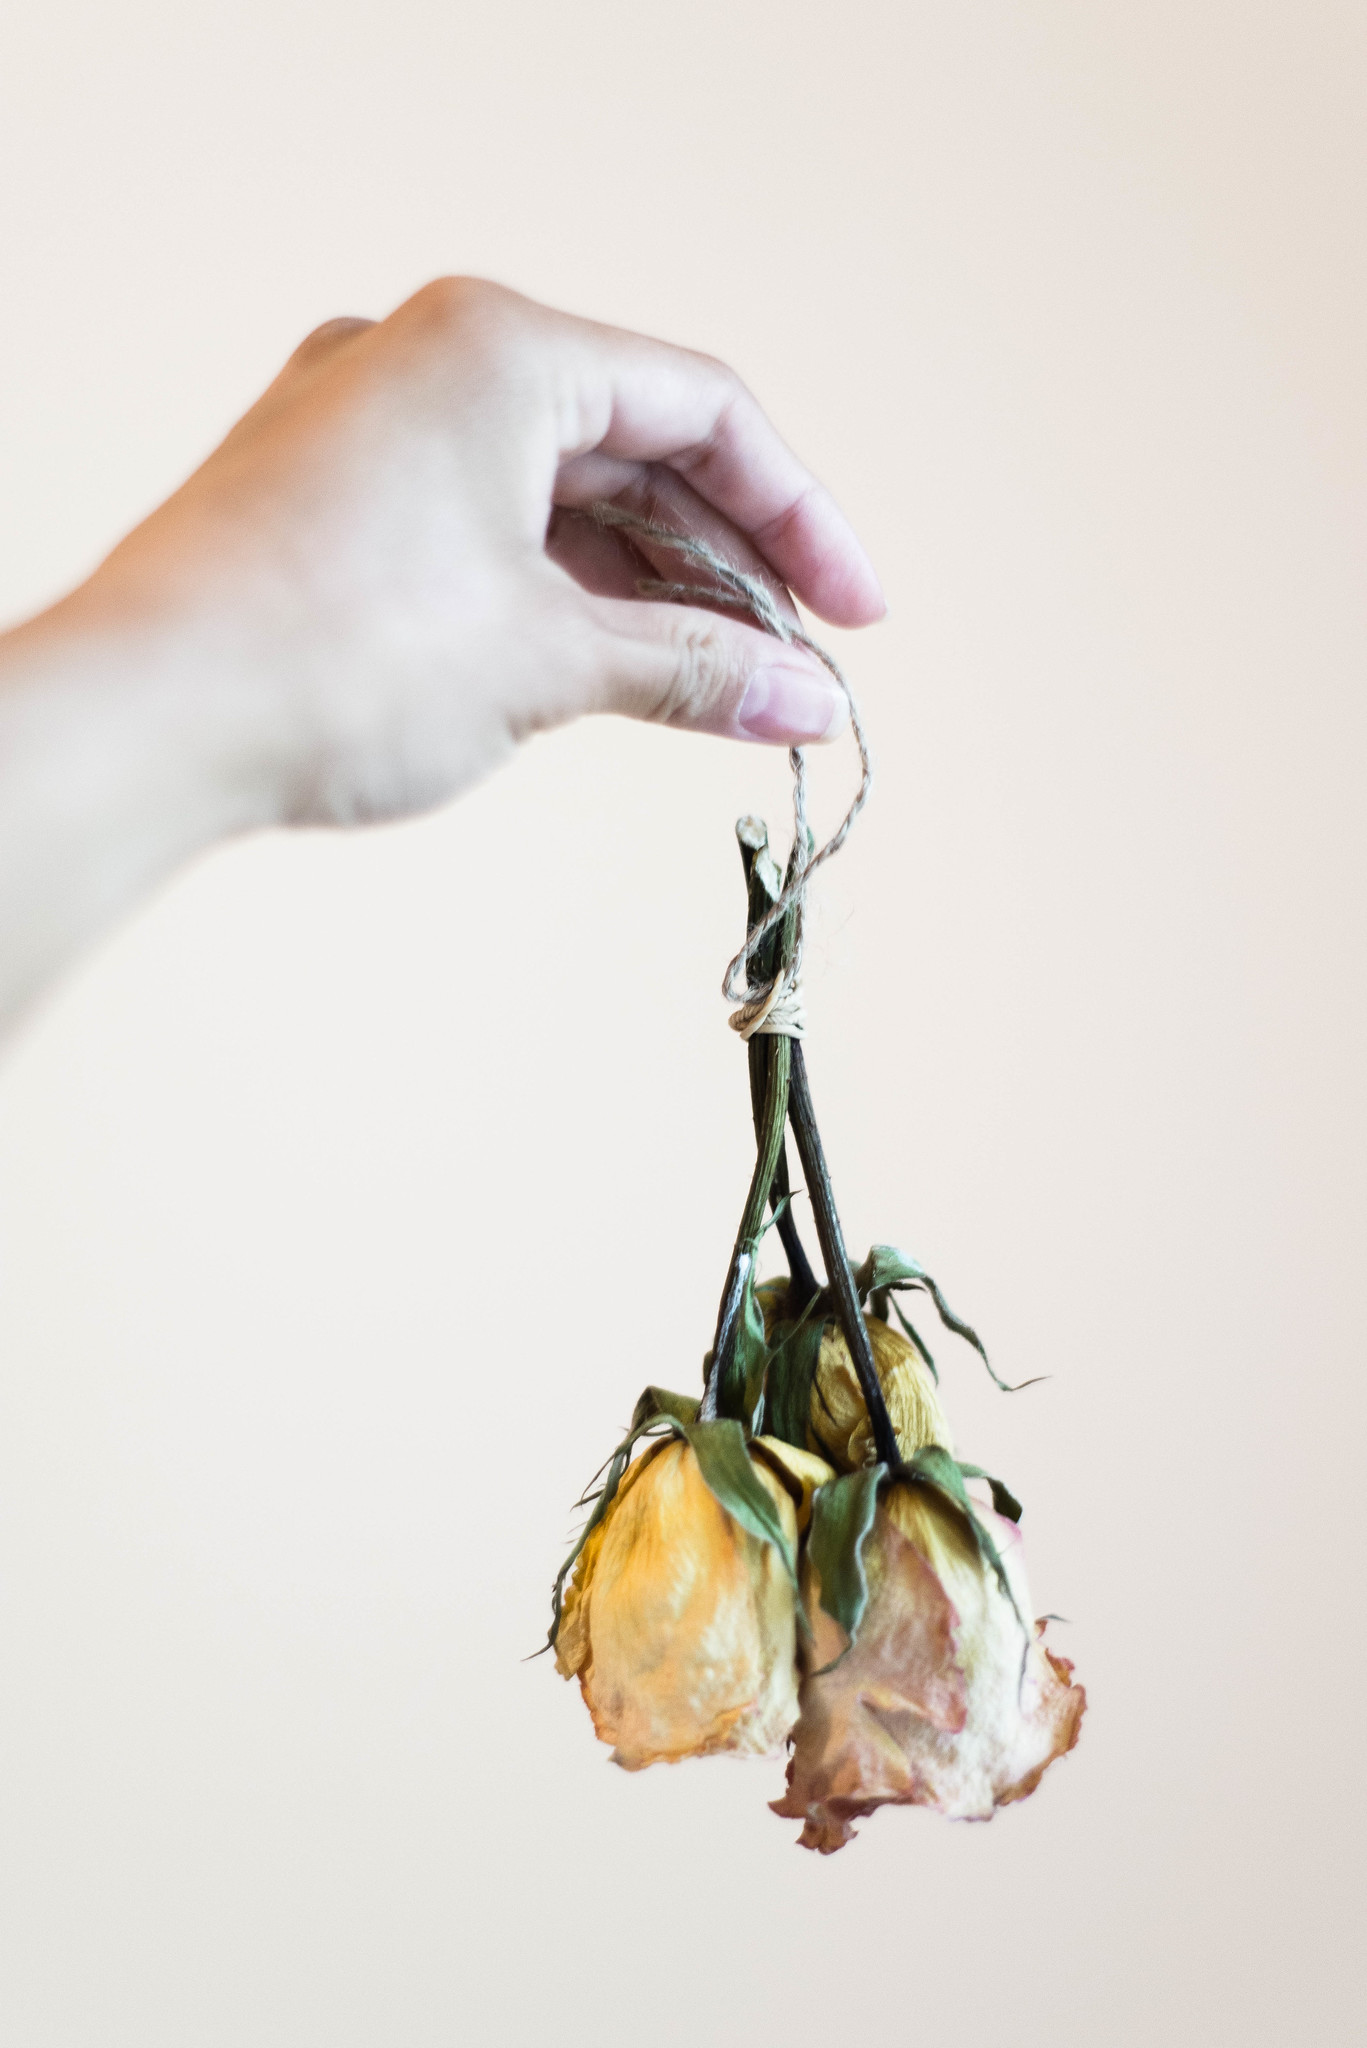
TECHNIQUE 1: HANG 'EM OUT TO DRY
An oldie but a goodie. Trim the stems, assemble into small bunches (you want the air to circulate around the heads), and hang in a cool dark area like an empty closet. I left mine for a month, then came back and gave them a good finishing with some hair-spray.
PROS: cheap and easy, you keep the structural integrity of the flowers (aka not crushed to death), can dry most things this way
CONS: Most things turn brown after drying. Who even has an unused closet? And what do you do with all those flowers later, without making your house look like your grandmother's?? **
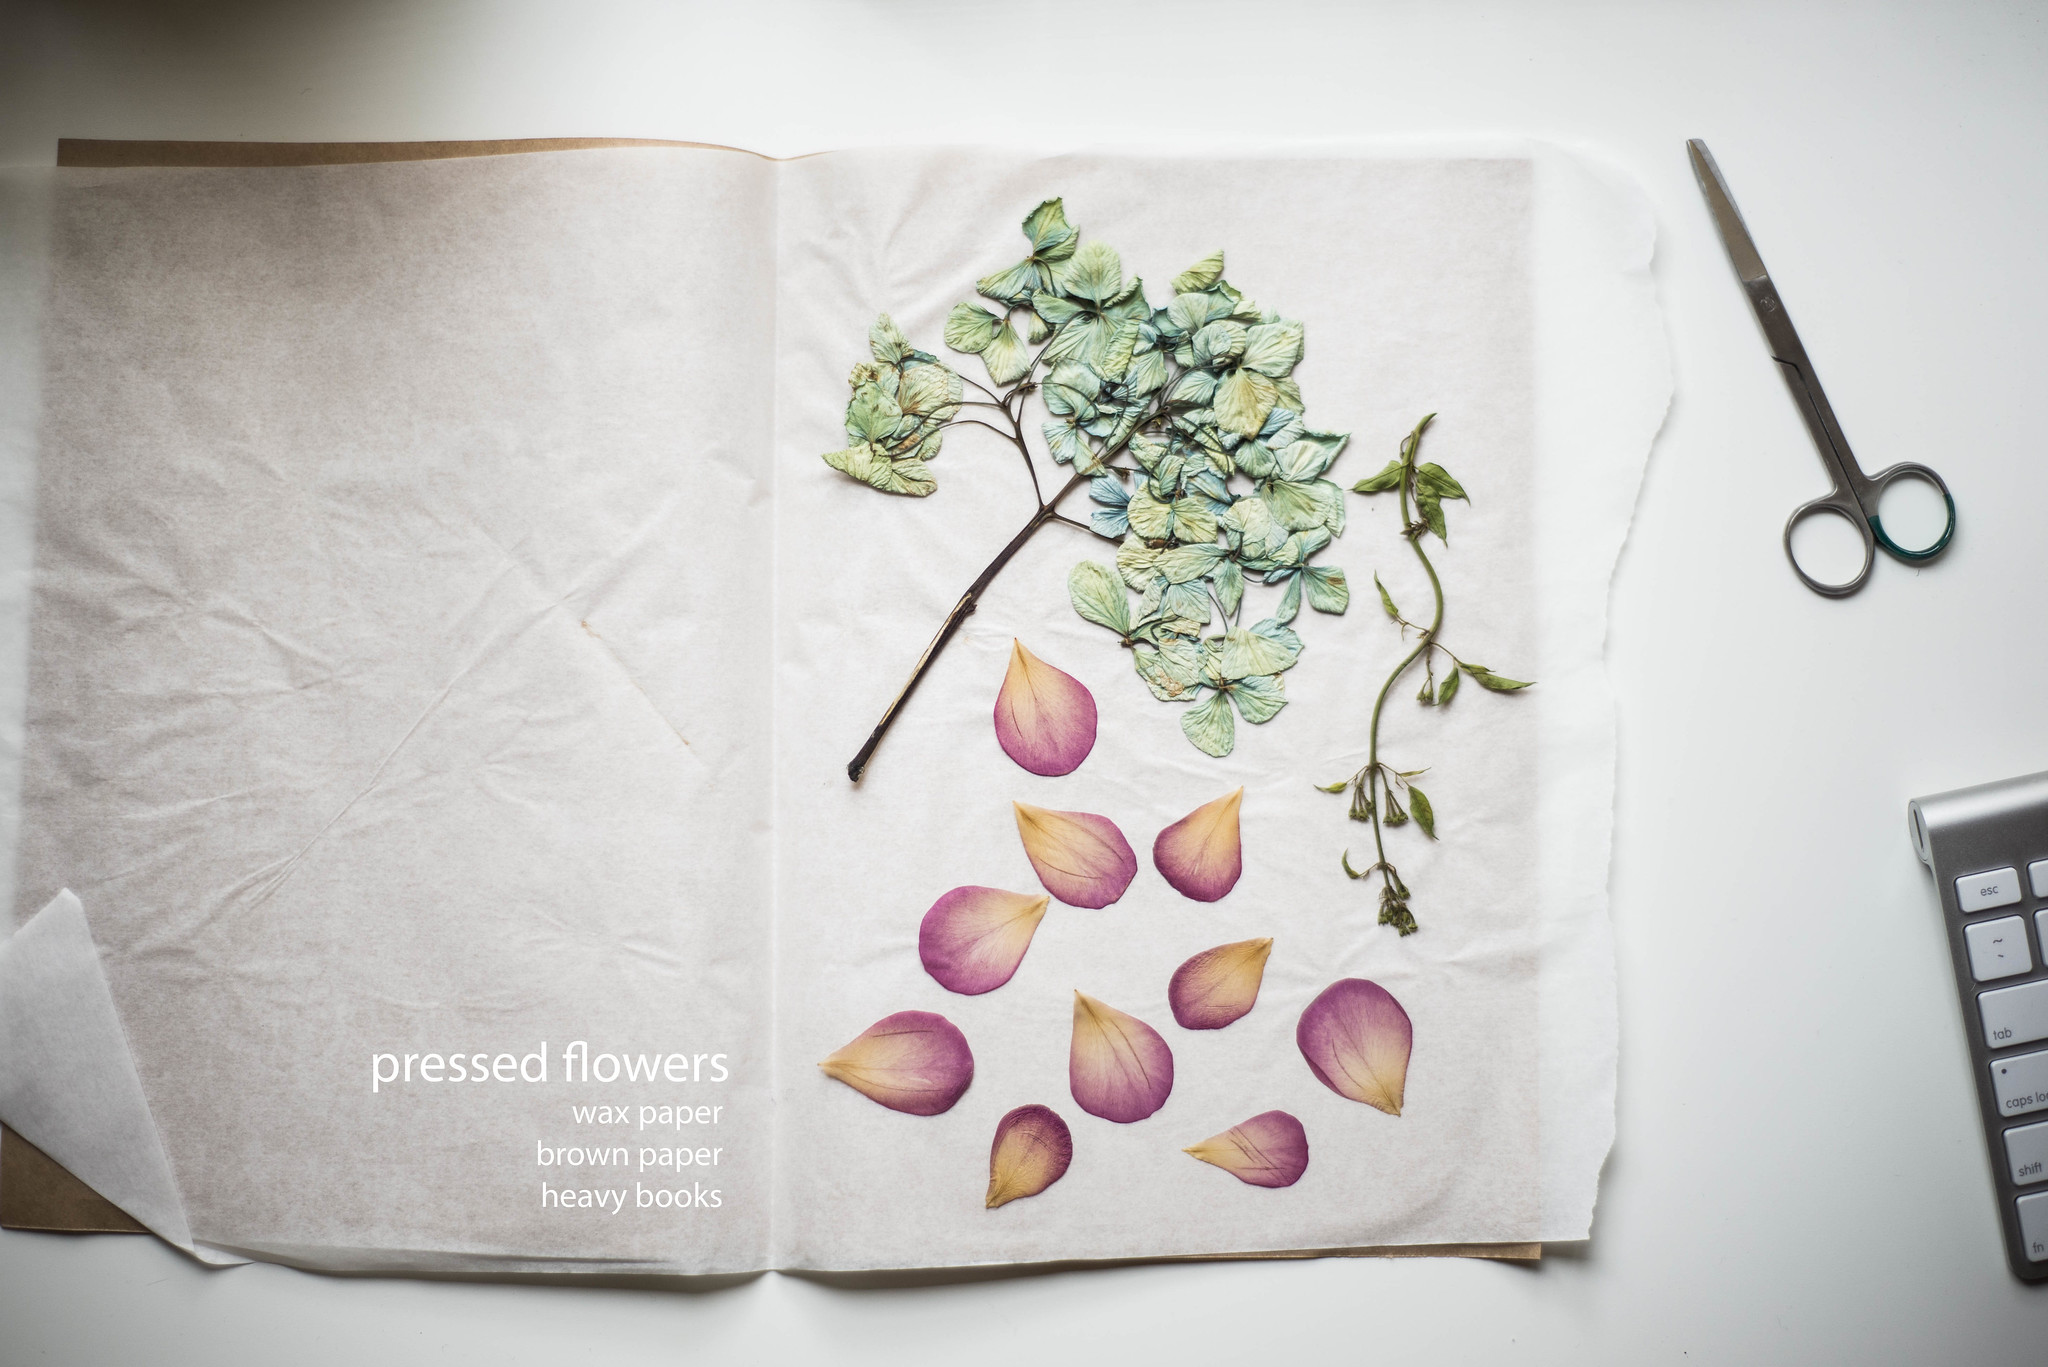

TECHNIQUE 2: CRUSH THE LIVING DAYLIGHTS OUT OF THEM
Also an oldie, and probably more of a goodie because you flat-pressed things which are easier to frame and do all sorts of crafty projects with. Sandwich your flowers or leaves between some wax/baking paper, insert between another layer of brown paper (just in case you get some oozy samples - I have lost part of the "R" section in my medical dictionary because of this), crush between the pages of some chunky textbooks, and leave for a few weeks.
PROS: also cheap and easy, looks awesome in a bunch of cheap Ikea frames (see fig. 1)
CONS: your flowers should be fresh but dry before you crush them and then leave them unattended, because brown squishy smelly things happen to those who try to crush a freshly-watered rose. Also, you can't crush everything (bulky flowers just don't work unless you have a tonne of textbooks. Or unless your library loans are for six weeks and not two)
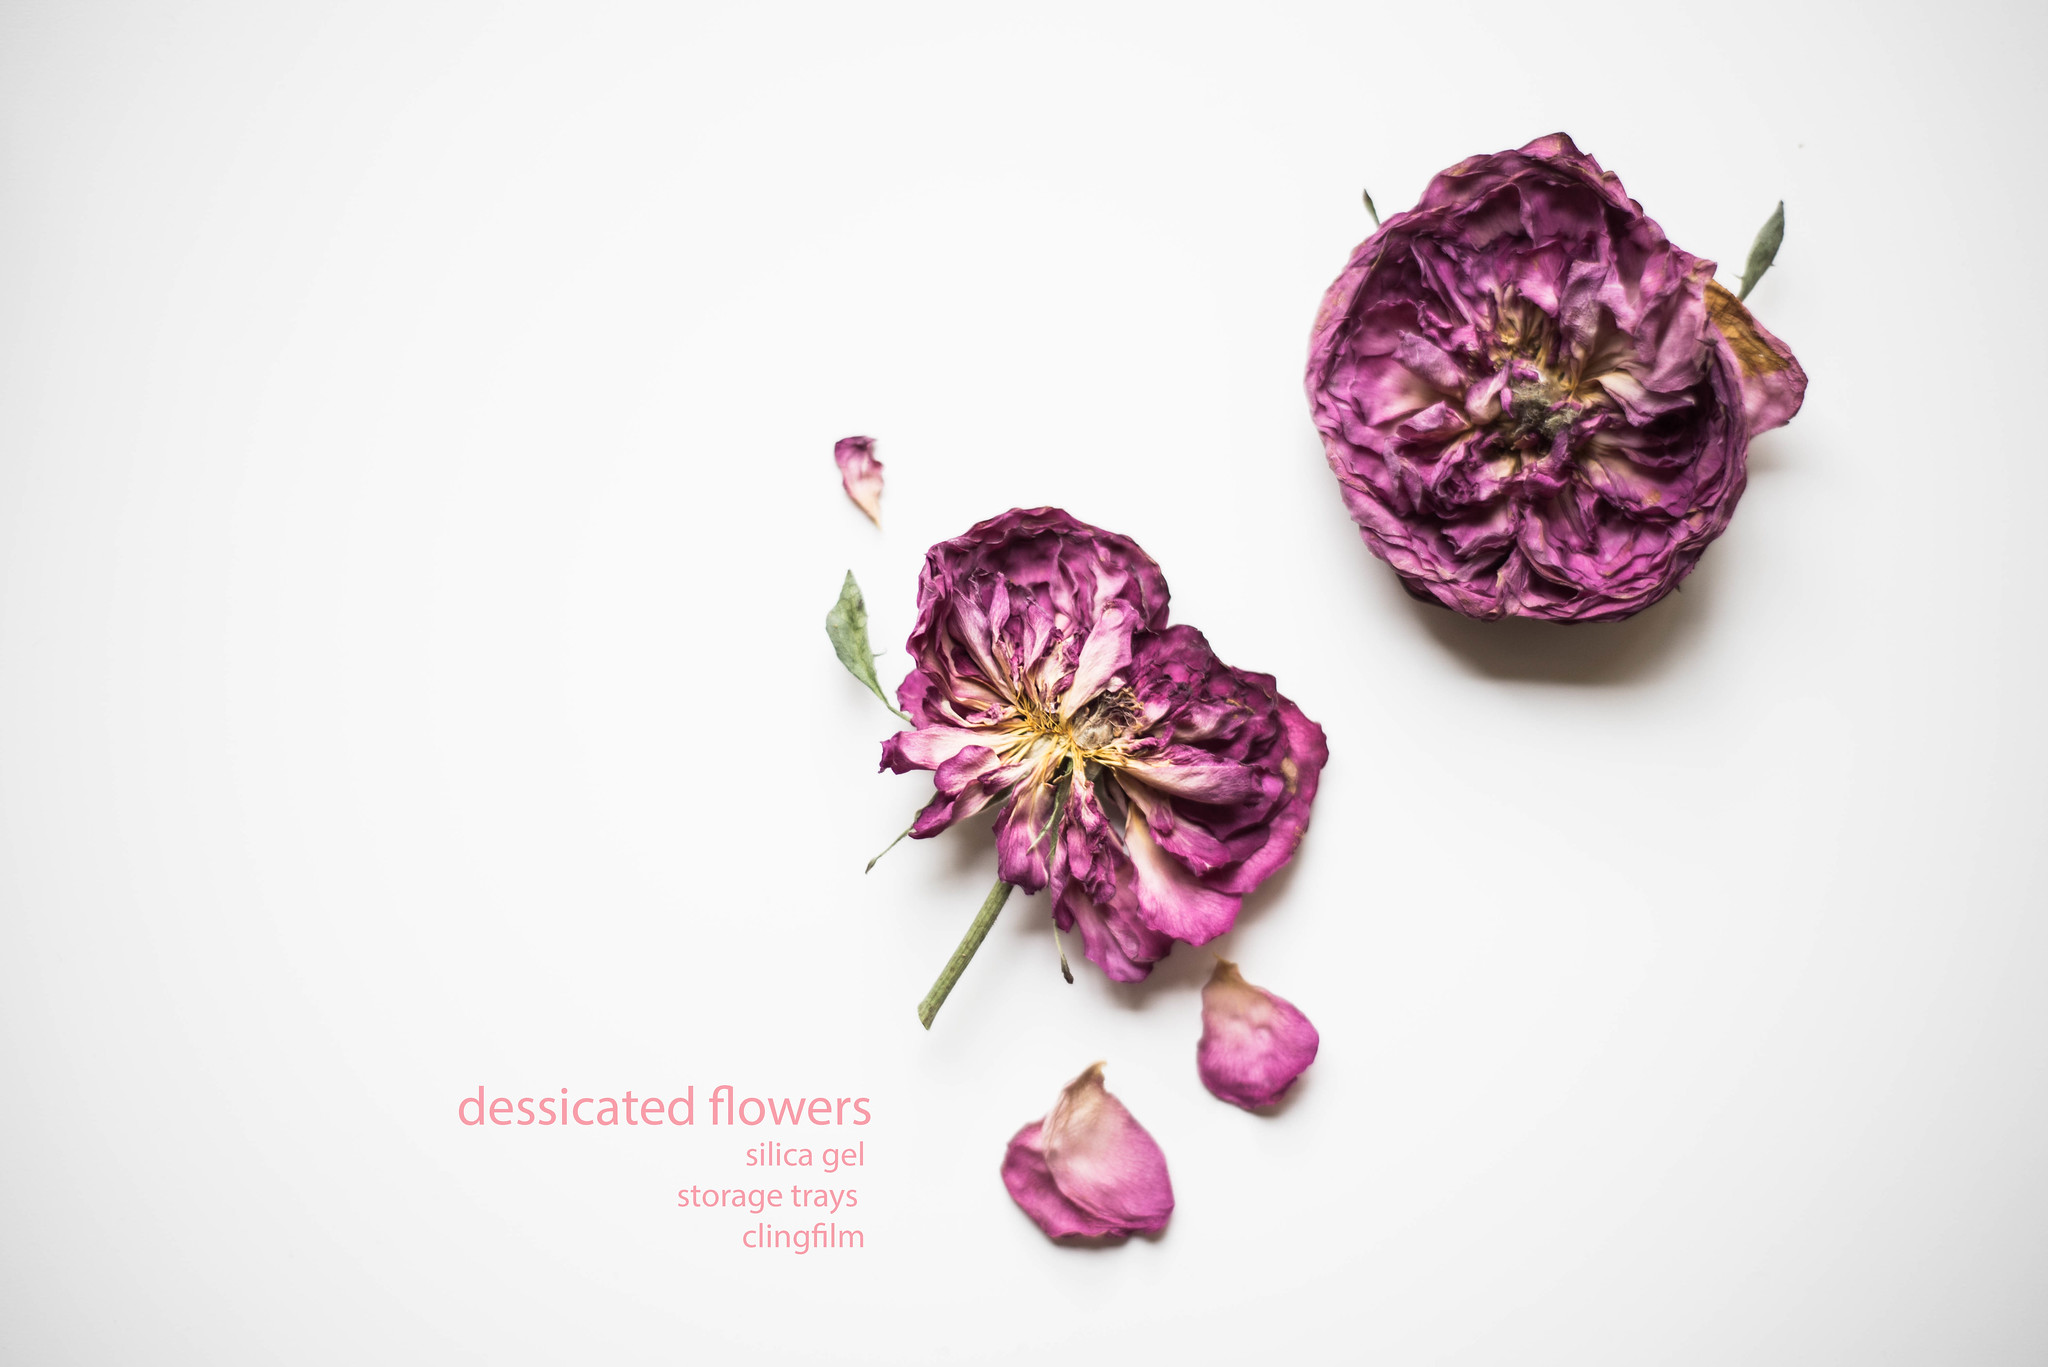
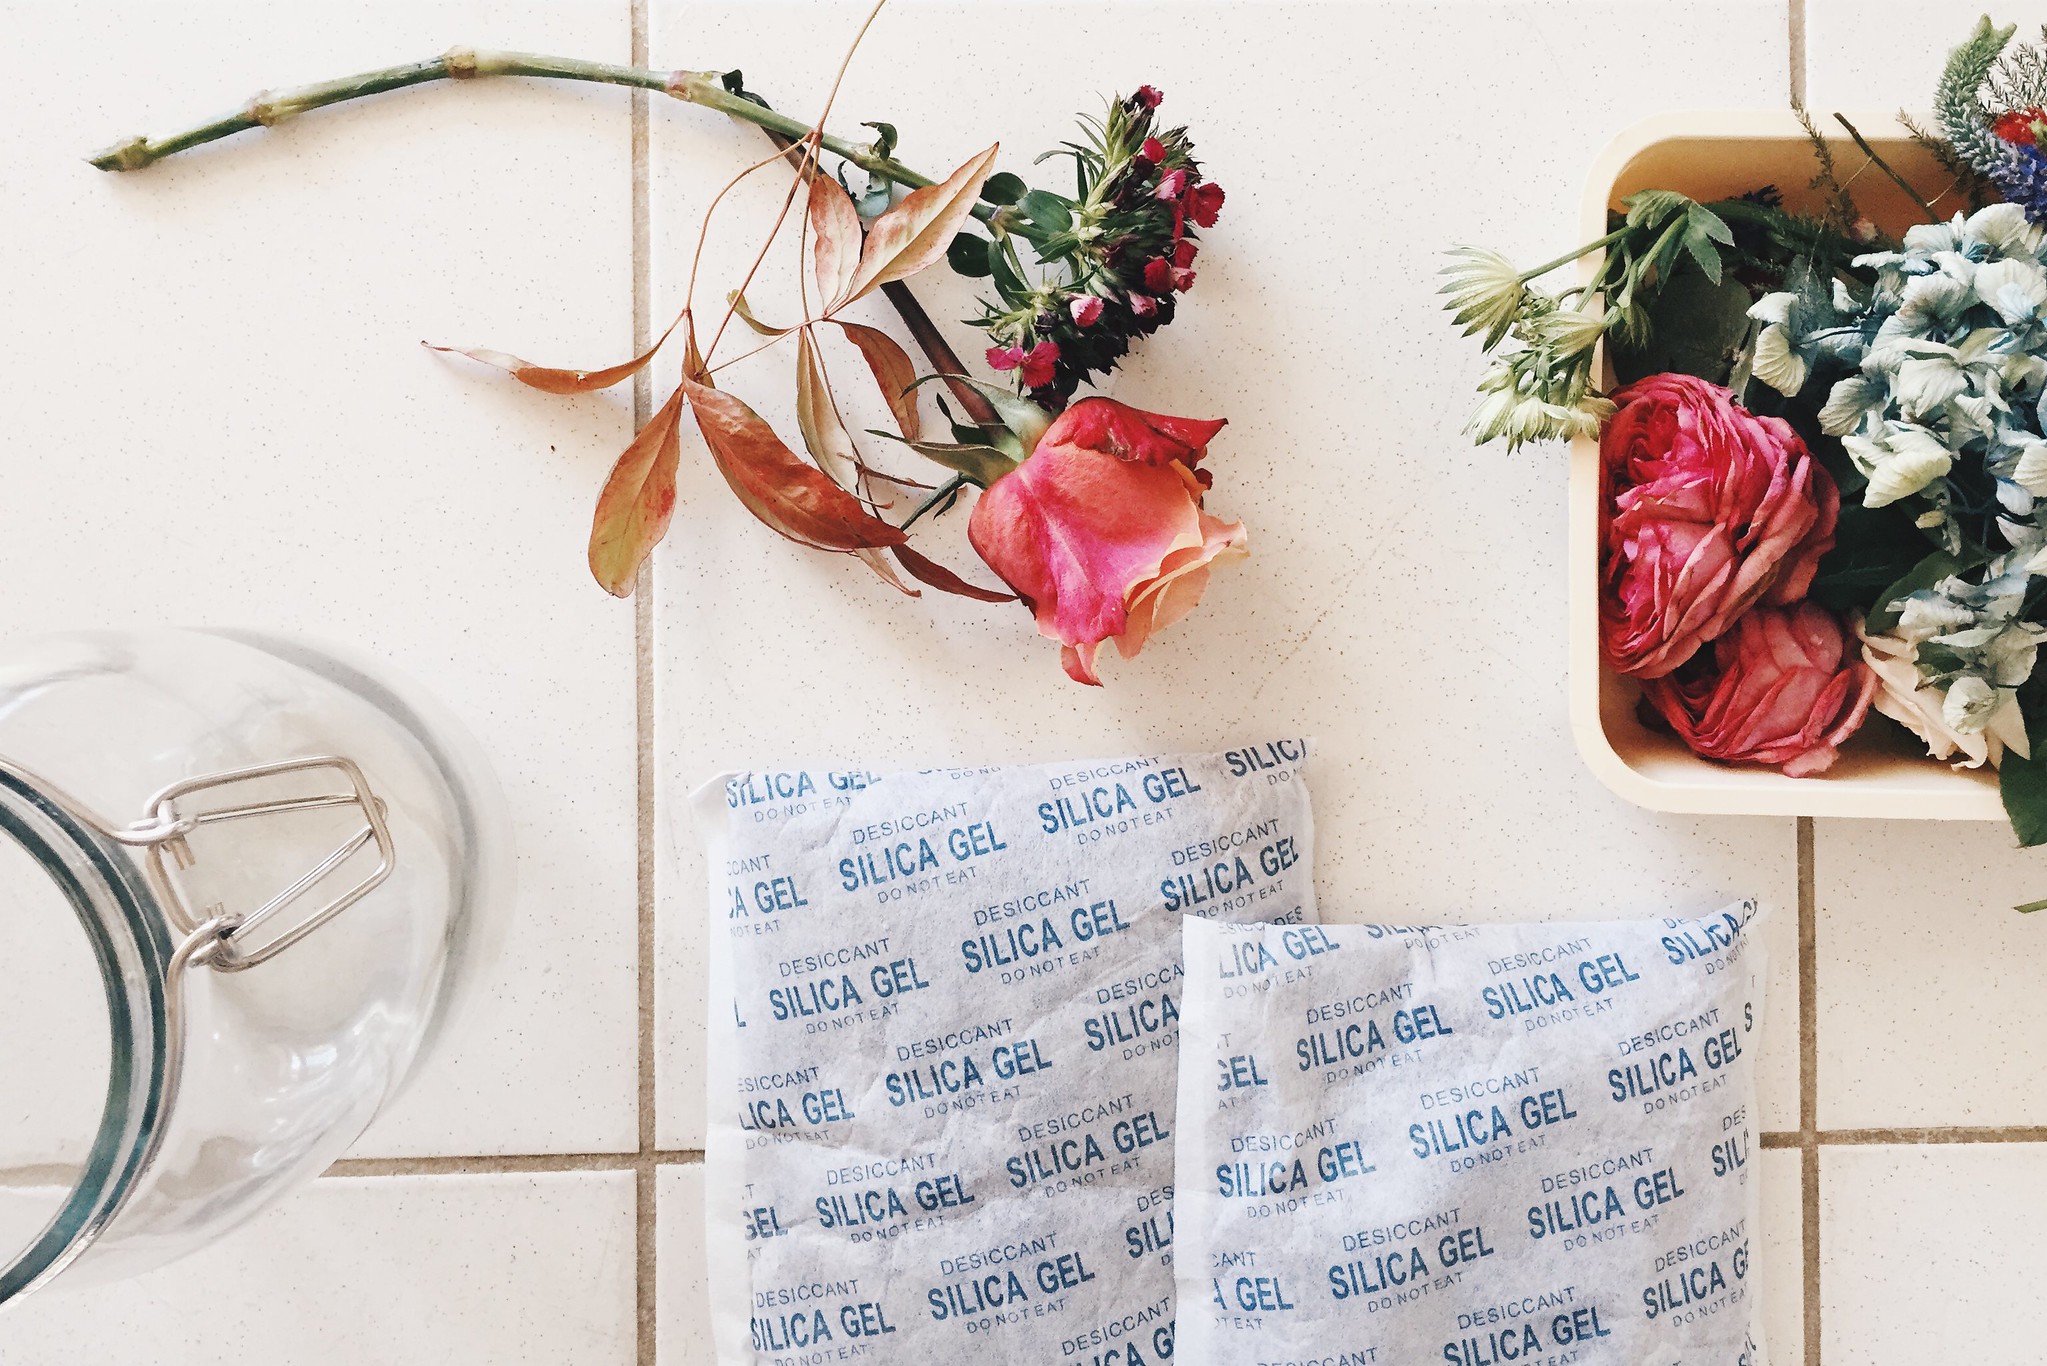
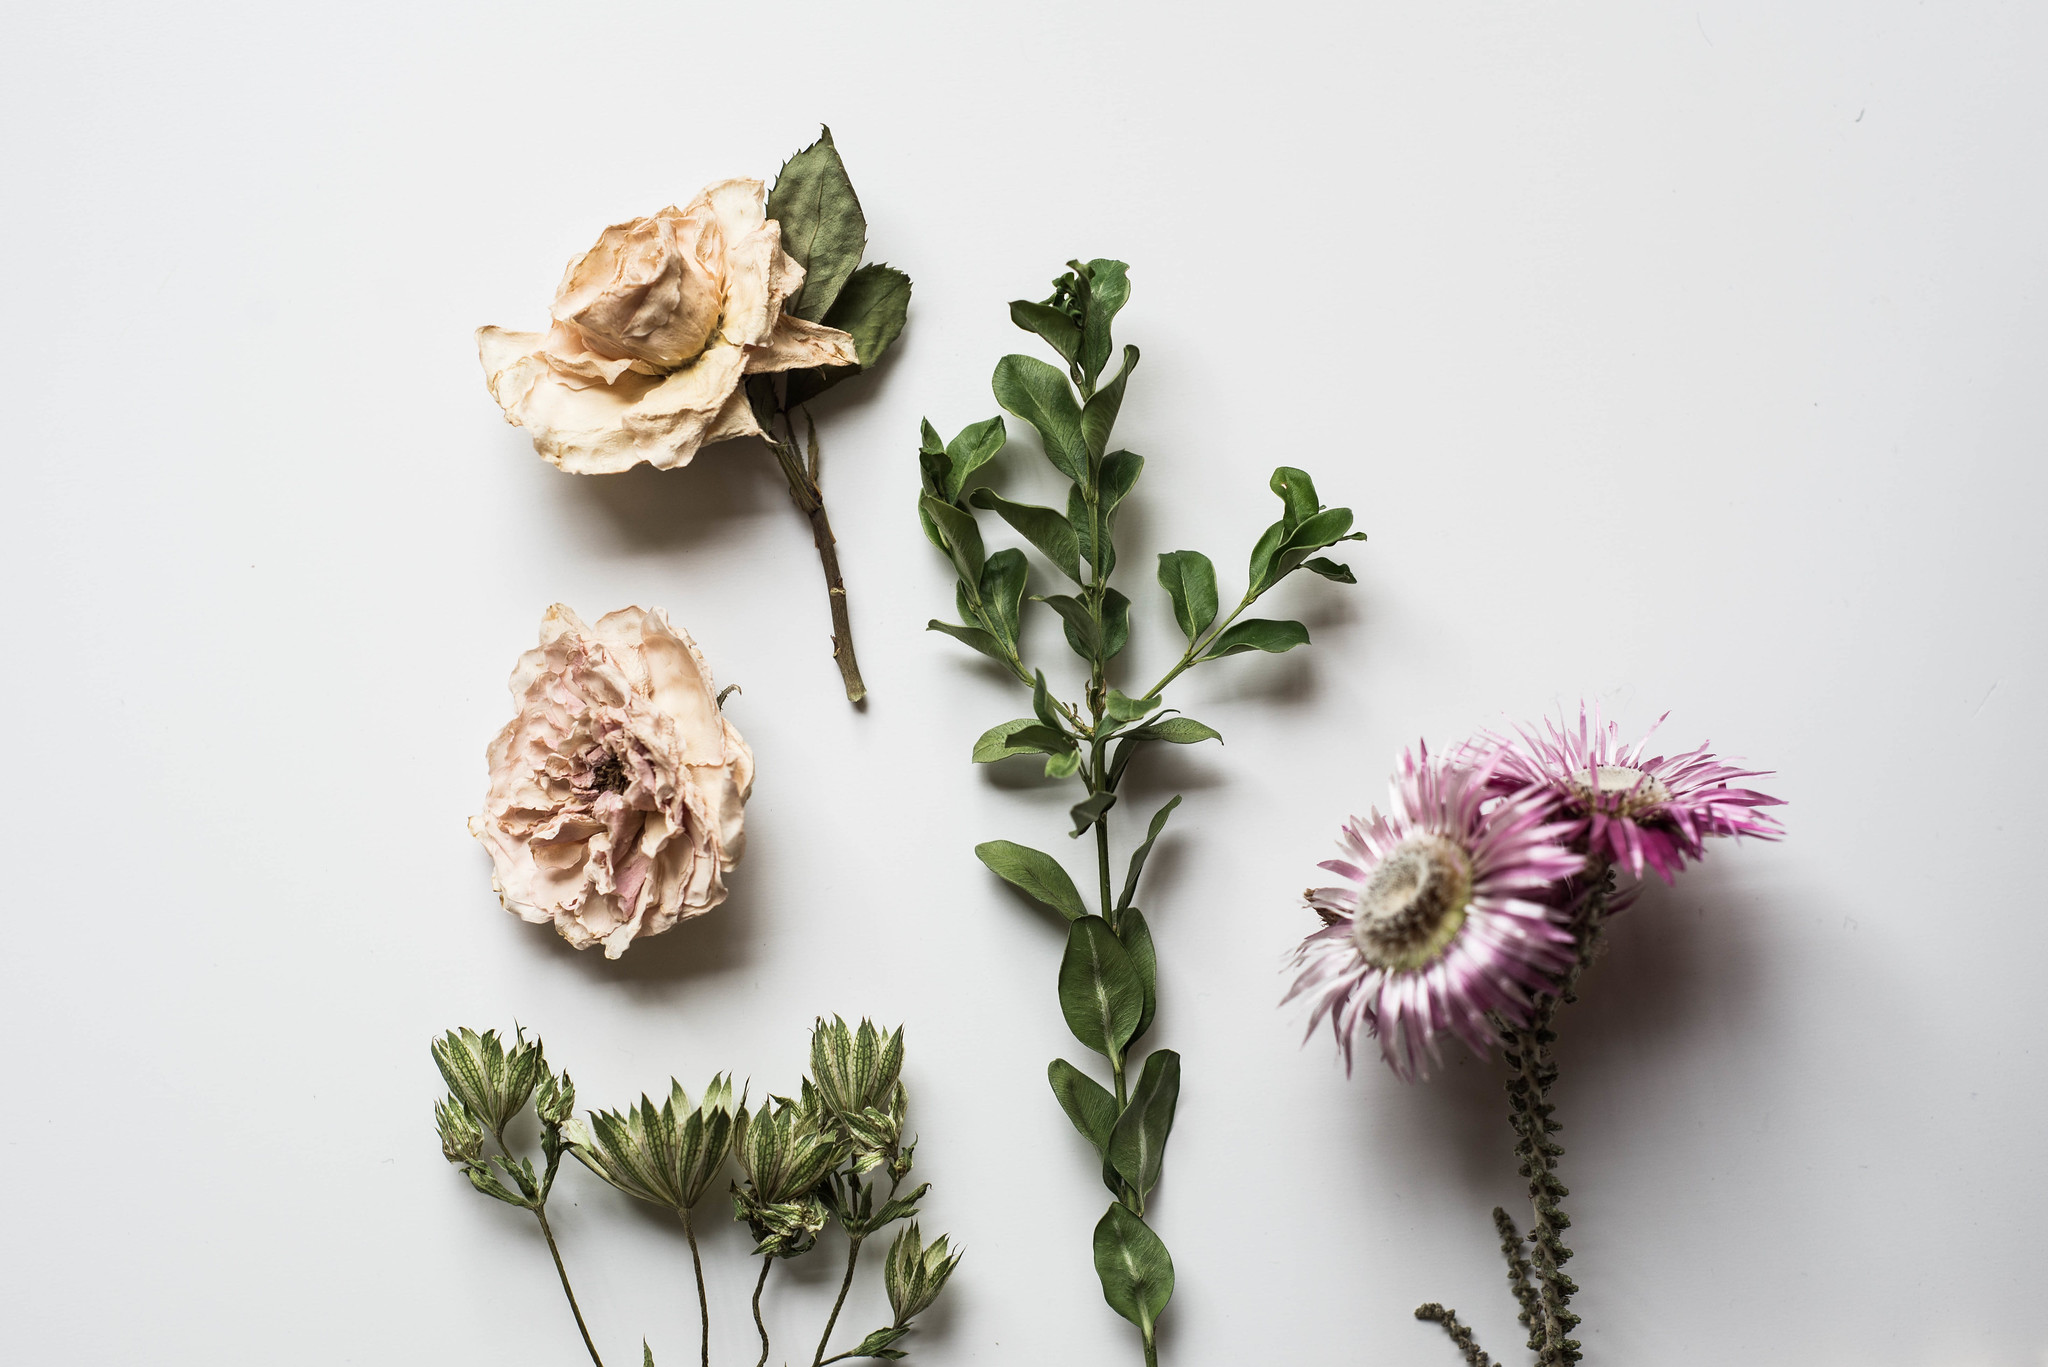
TECHNIQUE 3: DESSICATE THEM
Pour a thin layer at the bottom of a tray, then place your flowers on top and entirely cover them with the rest of the silica crystals. Then clingfilm the tray so the crystals don't suck moisture from the air nor spill all over the floor. Leave for two weeks.
PROS: faster, better colour-preservation, no risk of brown sludge because you can desiccto get the sand-like version of the crystals to make covering the flowers easier.
CONS: not cheap

So there you go, three easy ways to dry bits of your bouquet and add to the collection of heirlooms for your children's children! Also great for scrapbooking, gifts, etc. etc. you get the point.
T
** The next DIY will be have to be something like how to convert a cheapo frame into a display box frame, because now you have a whole bunch of 3D flowers to show off.

Oh can't wait for the second part, I just finished drying some and they look beautiful!
ReplyDelete