
Fringes have been making their way around the fashion traps this past season - just peruse collections by Missoni, Sass & Bide, and more local talent like Poppy Lissiman for example.
Keep on scrolling down to check out another easy(ish) DIY project to try out!
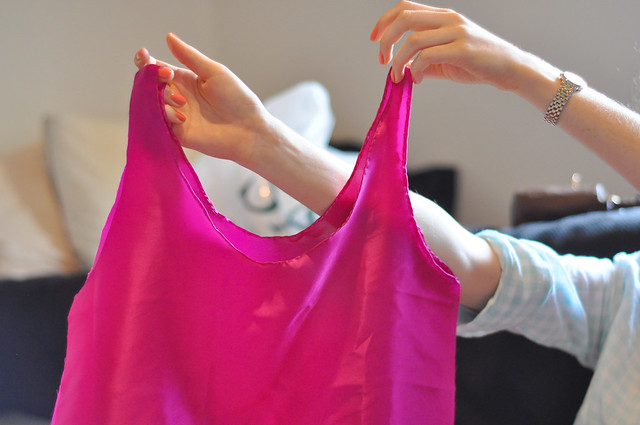
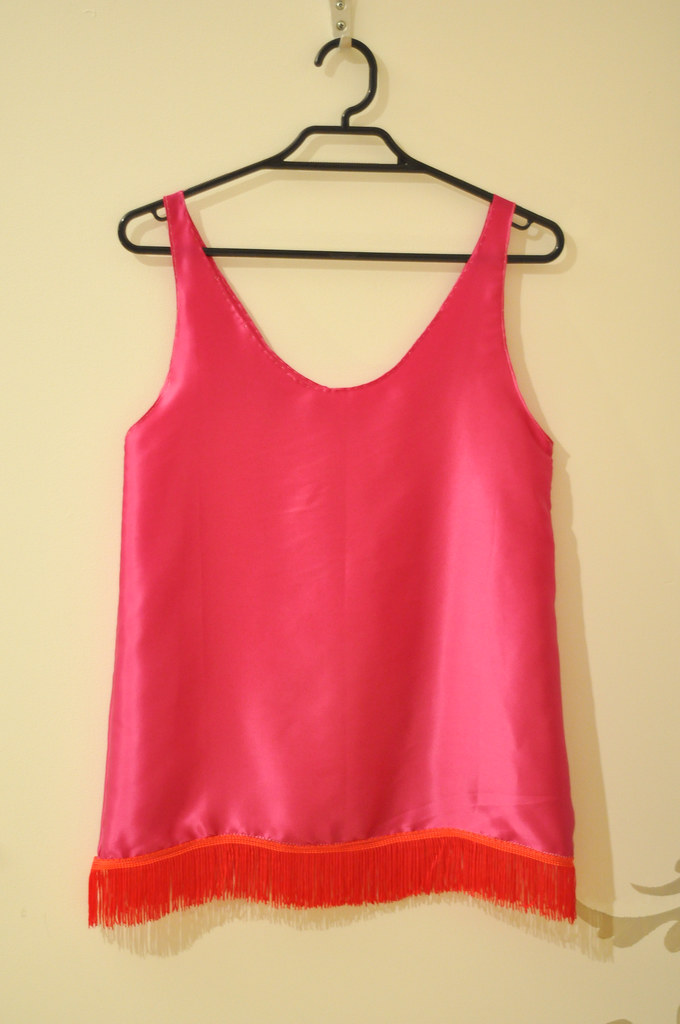
DIY Fringed Silk Singlet
What You'll Need:
Appropriate amount of silk to make a singlet (unless you want to take the quick way and just add the fringing to a pre-made singlet) - we used 1 metre of 1.2m width material to make 2 singlets
Sewing kit
Tracing paper and pencil
Chalk
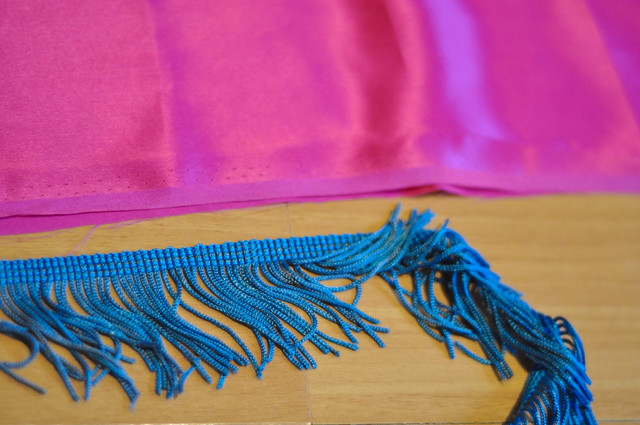
Fringe trim
Step 1:
Get your pattern sorted!
We used another singlet and traced it to get our shape. In hindsight, we probably should have not made it the same on the back, but we can tweak that the next time around. You could buy a pattern or google around for one as well.

Step 2:
Chalk it on (fabric markers or pencils run the risk of staining the delicate silk) then cut it out.
Keep on scrolling down to check out another easy(ish) DIY project to try out!
DIY Fringed Silk Singlet
What You'll Need:
Appropriate amount of silk to make a singlet (unless you want to take the quick way and just add the fringing to a pre-made singlet) - we used 1 metre of 1.2m width material to make 2 singlets
Sewing kit
Tracing paper and pencil
Chalk
Fringe trim
Step 1:
Get your pattern sorted!
We used another singlet and traced it to get our shape. In hindsight, we probably should have not made it the same on the back, but we can tweak that the next time around. You could buy a pattern or google around for one as well.
Step 2:
Chalk it on (fabric markers or pencils run the risk of staining the delicate silk) then cut it out.
Step 3:
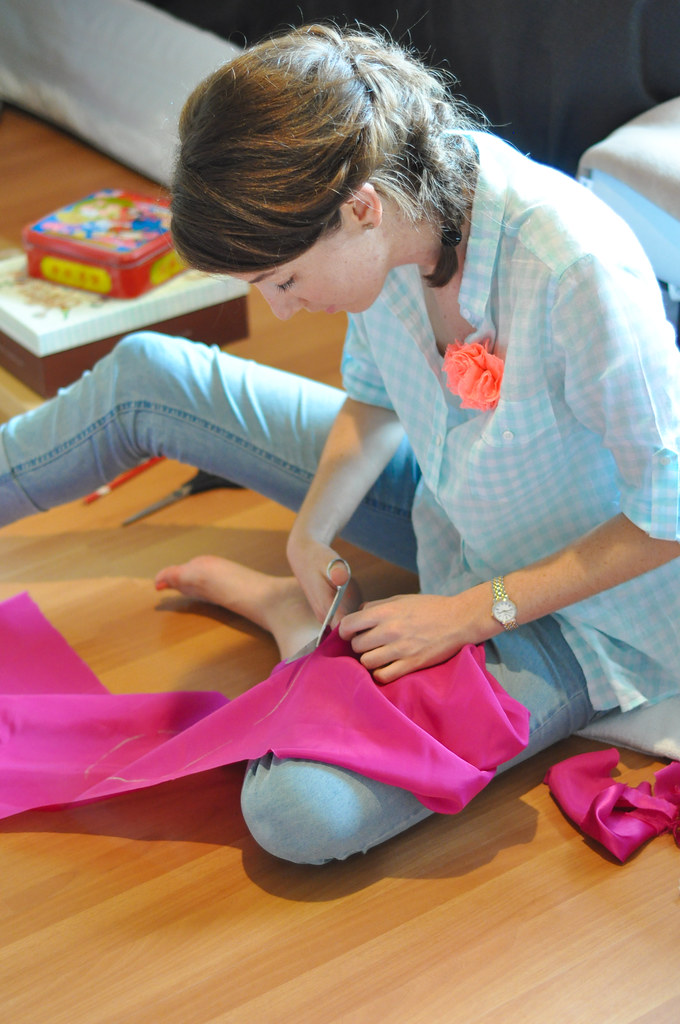
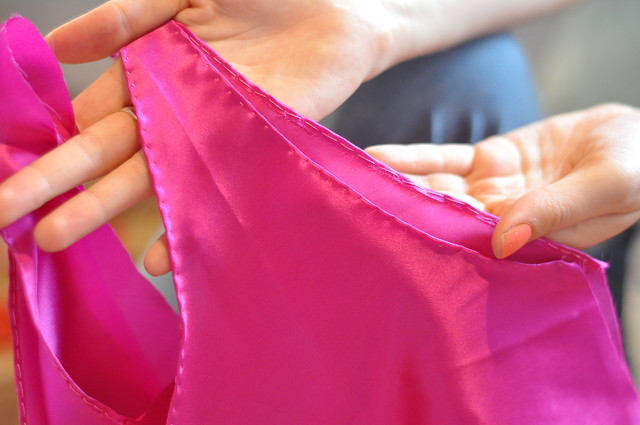
Stitch up the neckline and arm holes (next time we'd use bias tape) then do up the side seams.
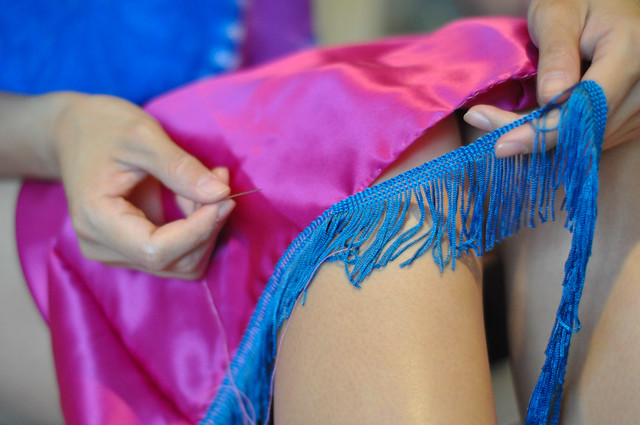
Steph & I hand-sewed the lot since my mum's crappy sewing machine will maul just about anything.

Step 4:
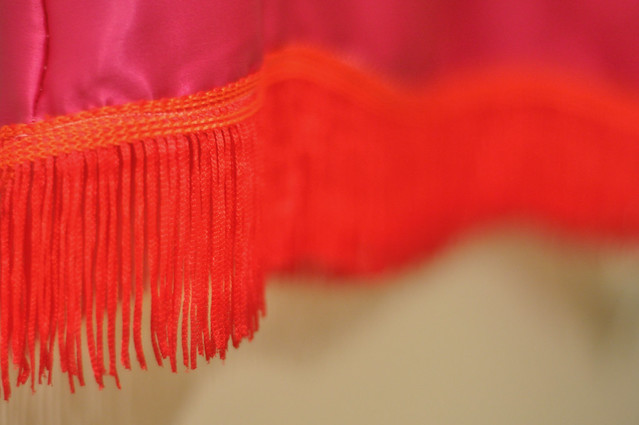
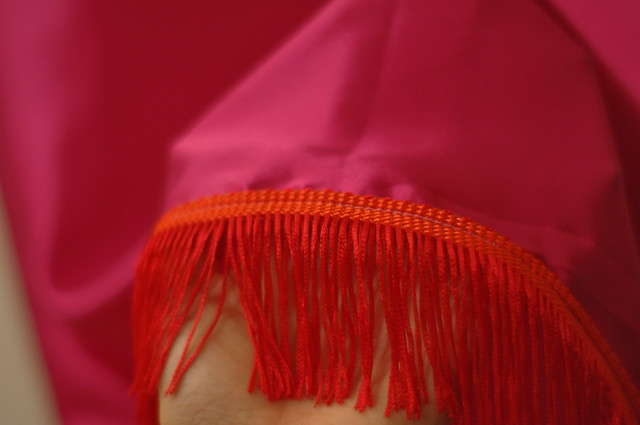
Hem, then hand-stitch or machine on your fringing to the bottom of your singlet. You can do two rows (see the singlet with the red trim) if the fringing is sparse to give it a fuller effect.

Step 5:
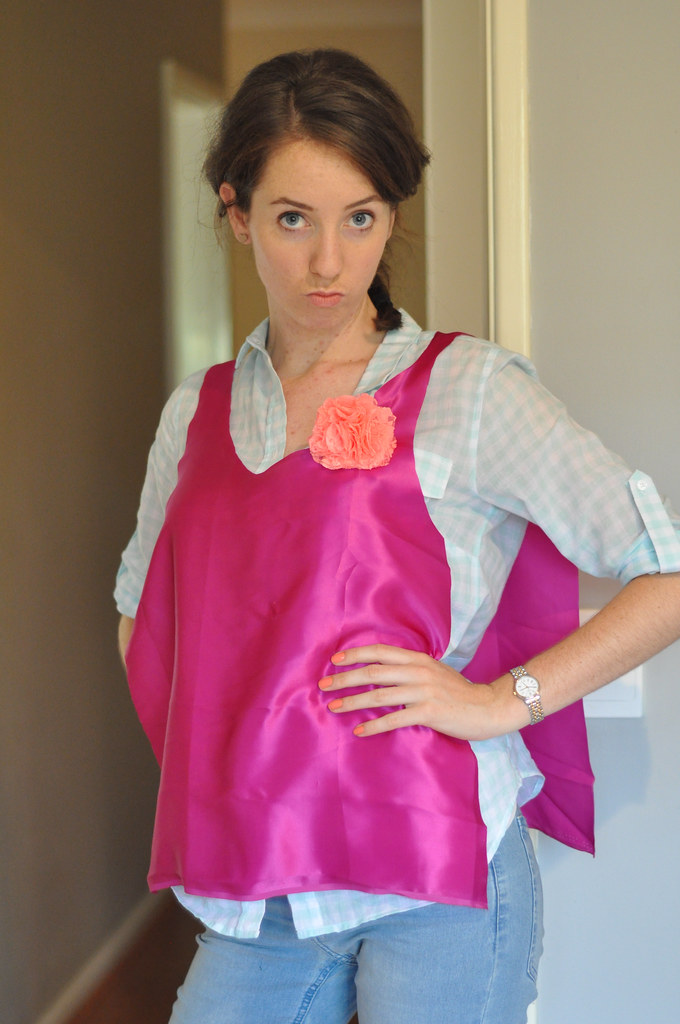
Give your singlet a good iron, et voila!
For shorter option, give your singlet a generous crop before stitching on the trim:
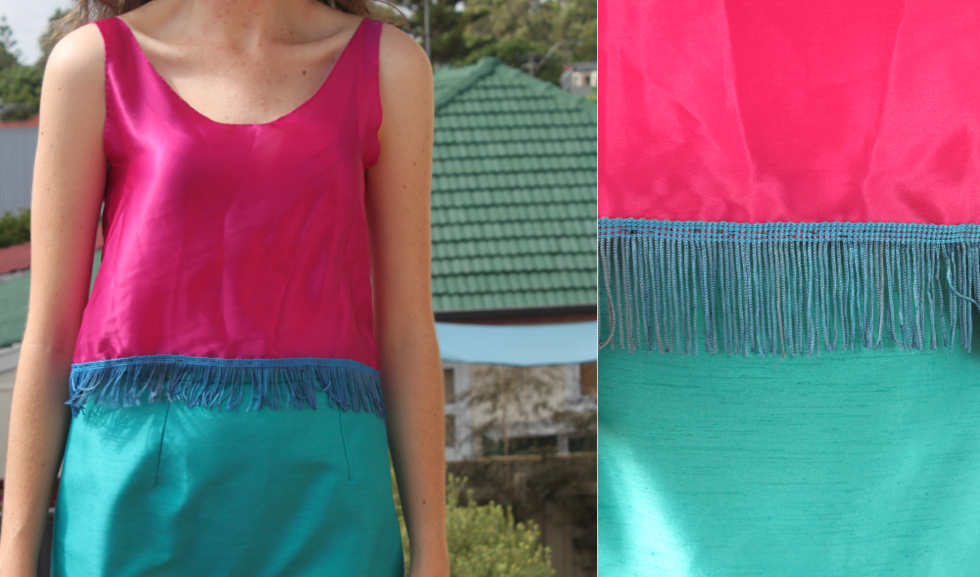
S's top is worn with DIY skirt - posted here
Stay tuned for more fringed DIYs - I bought a heap of it on my trip to Malaysia, so everything will have a trim on it soon!
xx S&T
wow can't believe you hand-stitched it all. don't think i have the patience for that. looks great!
ReplyDeletehttp://jas-tidbits.blogspot.com/
Hotness! I love the fuchsia + red combo. Looking forward to more fringetastic projects.
ReplyDeleteacleanercloset.blogspot.com
Those are amazing!!
ReplyDeleteVery cool <3
ReplyDeleteThis looks like so much fun to make - think I will give this one a go! xx
ReplyDeleteSouth Molton St Style
Sweeeet DIY!! I love the end result.
ReplyDelete