Showing posts with label DIY. Show all posts

7.4.15

1 comment

DIY: Dried Flowers

DSC_6047.jpg

One of my favourite things from my wedding day were the flowers by the gorgeous Bec of Rox & Rabbit.  Unfortunately, as with most good things, they had to meet a wilted, sad demise thanks to how Mama Nature works.  EXCEPT that I was hell-bent on preserving some of my pretty posies because 1. I am a bit of a hoarder, 2. I was feeling sorry for myself post-wedding, and 3. those flowers were expensive, and I needed to milk them for all their worth.

So I decided to experiment with a few drying techniques which you too can use to stave off those post-wedding blues!  I feel it was quite a success.  And hopefully you'll remember this and be more prepared, instead of going troppo looking for silica gel just prior to leaving for your honeymoon.

For best results, use fresh (not semi-dead) stuff.


SHARE THIS POST

29.1.15

1 comment

DIY: Simple Cards

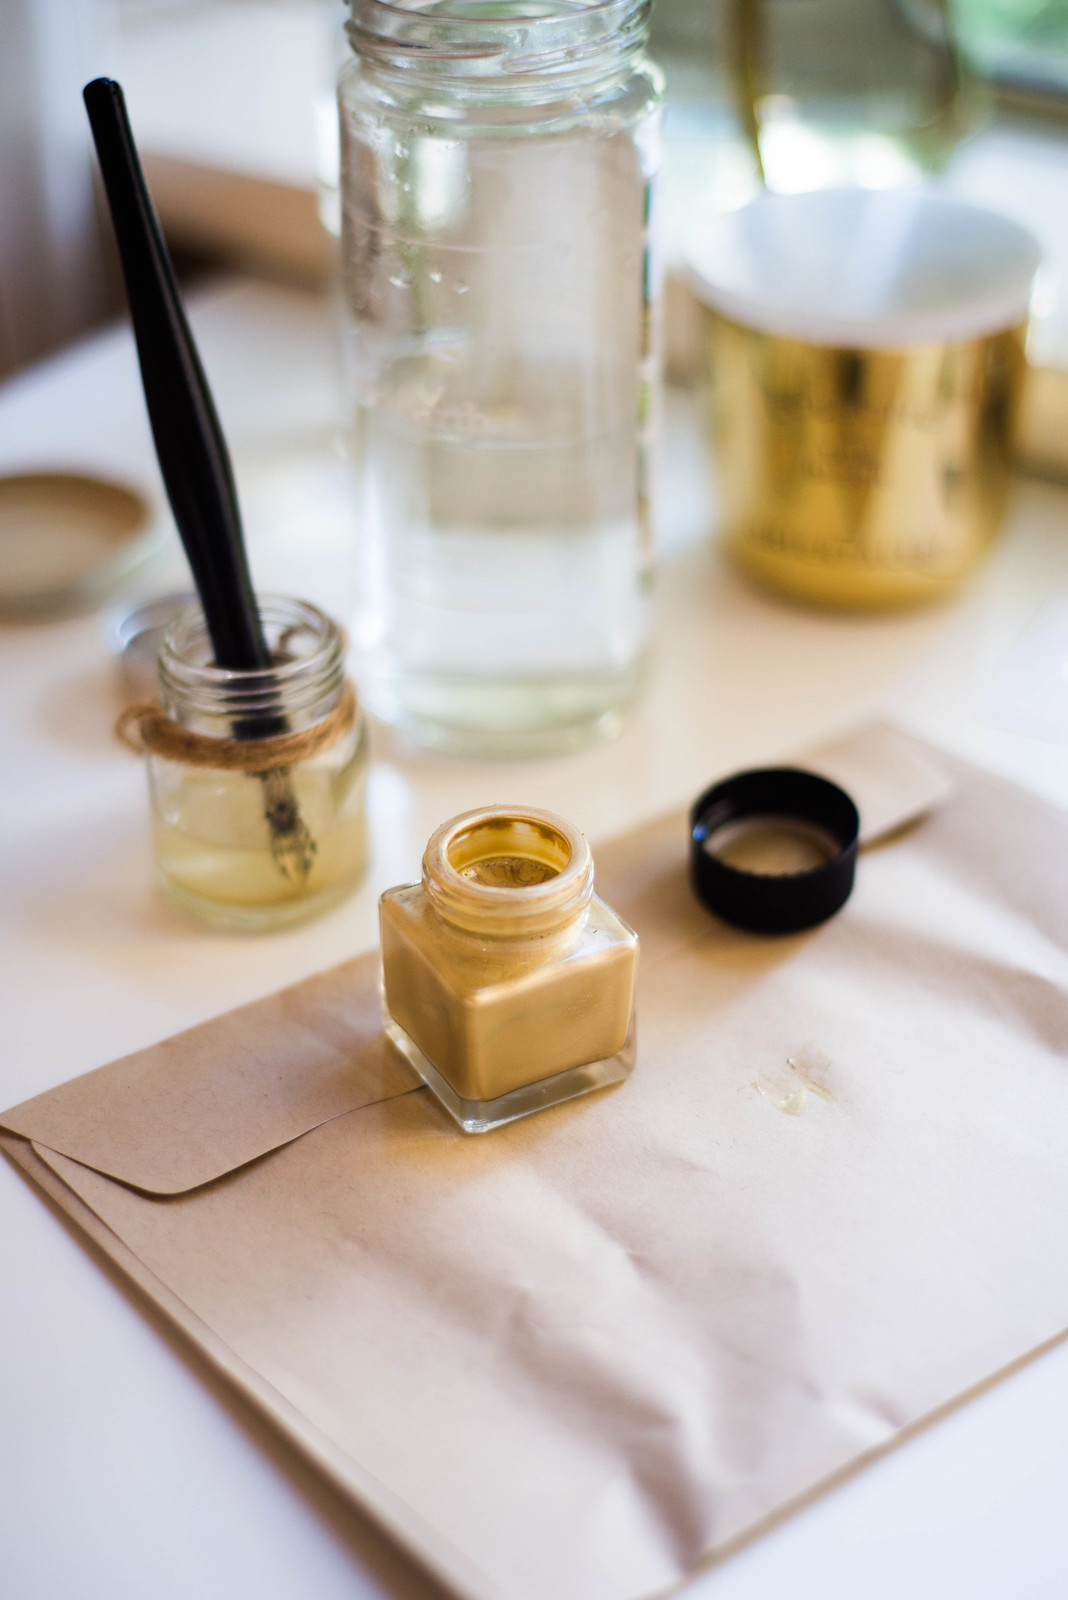
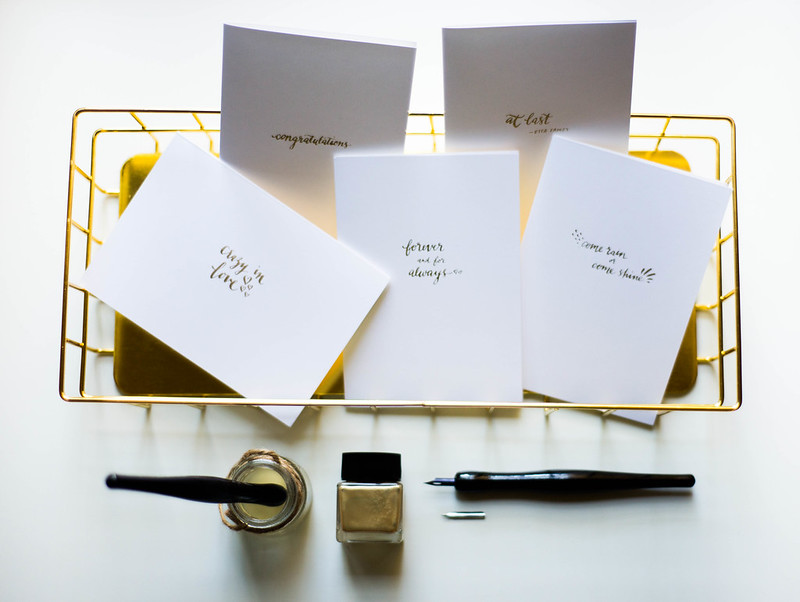
lefanciulle (1 of 9).jpglefanciulle (3 of 9).jpg

Hands up if you've been invited to a wedding/engagement/birthday/insert-random-occasion-here recently and had a tough time finding a card that 1. isn't $8 for something that looks like your mother made in her first scrapbooking class; 2. perfectly conveys your razor sharp wit or fantastical worldly knowledge; 3. isn't visually offensive.  Both my hands are up.  And yes, I am cheap with cards because 95% of the time, that $8 piece of tree will be thrown out in the trash.  I don't want my money to flippantly end up in the bin!  But I don't expect everyone to harbour past cards like an episode of Hoarders...  So if you haven't already jumped on to the modern calligraphy wave, then here's a good reason to try it out.  S & I are big fans of hand-made cards, and you can certainly save a crapload of moolah (whilst honing your skillz) with some simple sentiments.

Pre-step 1.  Learn how to wield a dip-pen.  Or fake it*
Step 1. Make some cards, or buy a pack of pre-made blank cards
Step 2. Flourish away with some inky goodness in your choice of hue.  I find simpler is better, and famous wedding song lyrics make for great wedding cards.  You can get more creative later!
Step 3. Make use of drying time to marvel at your hand-writing 


T

*yes, you can fake that funky effect that dip pens have.  I will elaborate further if there is a smidgeon of interest...


SHARE THIS POST

23.4.14

3 comments

DIY: Quick & Dirty Kokedamas

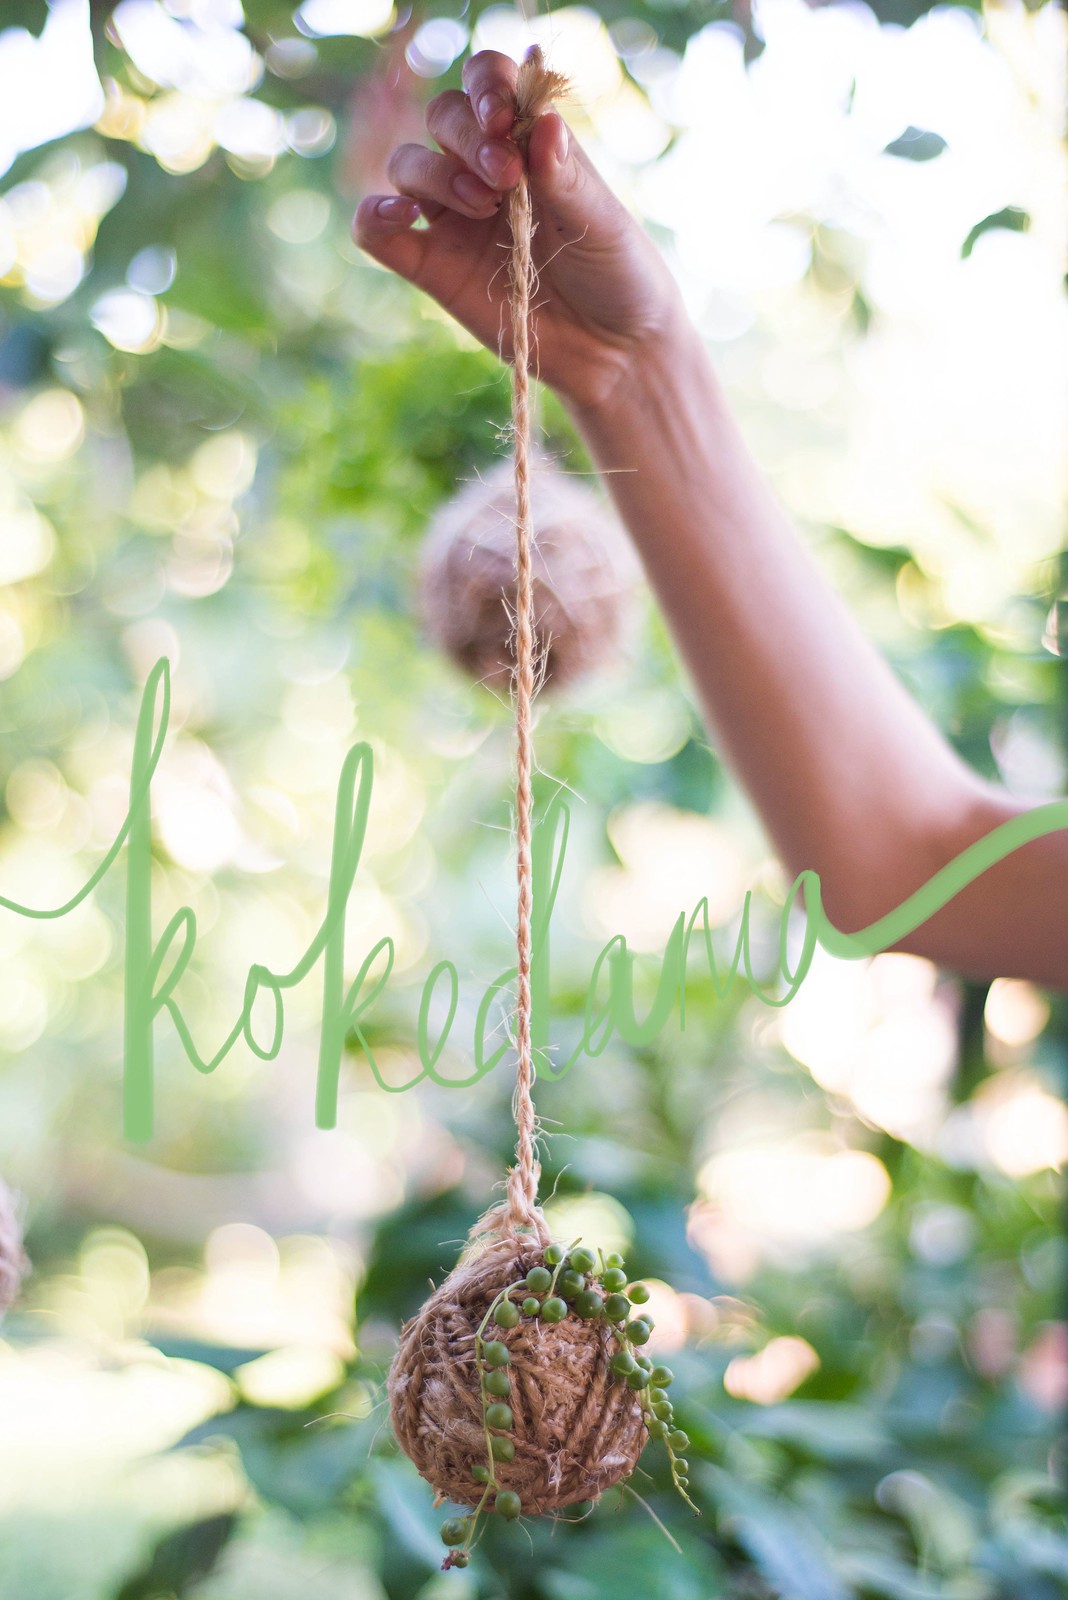
kokedama list6

Poor (or impatient?) man's bonsai or not, these dangly balls of life are appropriate for showing off (unlike those other dangly balls of life...).  Perfect for greening-up interiors if you choose the correct plants!  Instructions after the jump.

SHARE THIS POST

11.3.14

No comments

Up & Coming...

lefanciulle (1 of 22).jpg

... a couple of DIYs for the cooler months.  Yes, D-I-to-the-Y's!  It's been a long time indeed.


SHARE THIS POST

29.11.13

2 comments

DIY: Is Your New Purchase Just "Not Quite Right"?

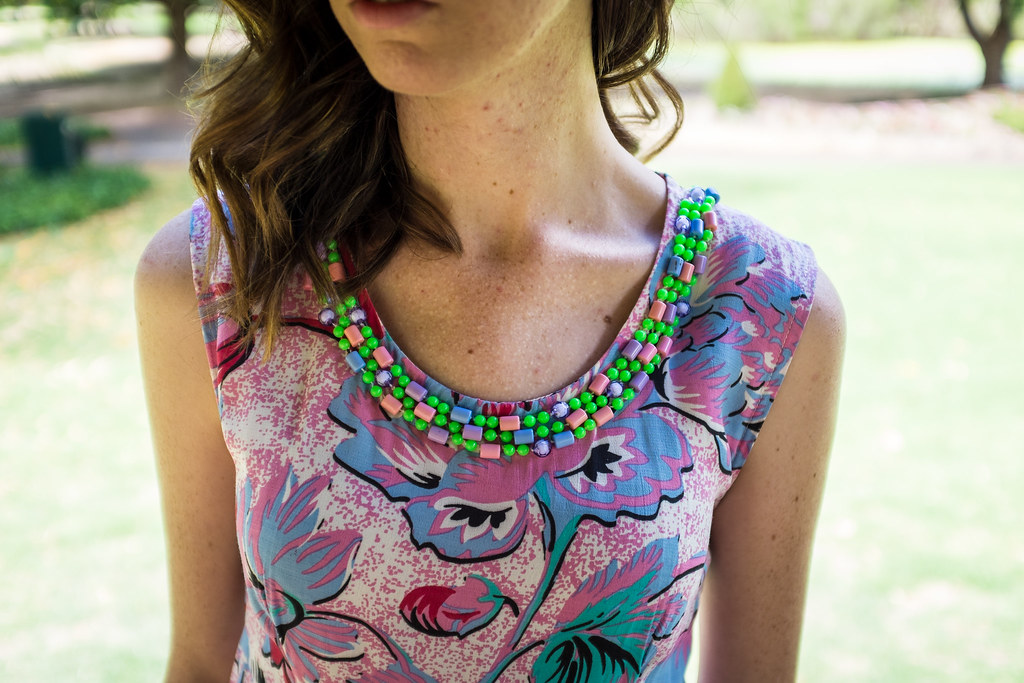
Whilst I usually reserve my hacking-things-up skills for op shopped or handed down clothes (mainly because my skills are lacking and the risk is high), I recently bought this dress that was just crying out for a quick alteration.  It was just not quite right.  The dress was purchased mainly for its seriously cute print, but was simply unwearable (to put it lightly) with the clashing shades of green in the beads and in the print!  Really.  I just couldn't.  #fashunproblems


Before de-bead-ment
DSCF5519
DSCF5521

I put the dress on to go for brunch, packed scissors in my bag and then ordered PX to both de-bead and take photos of the result.  Doctor's orders!  He had to comply. (hahaha my favourite joke at the moment)


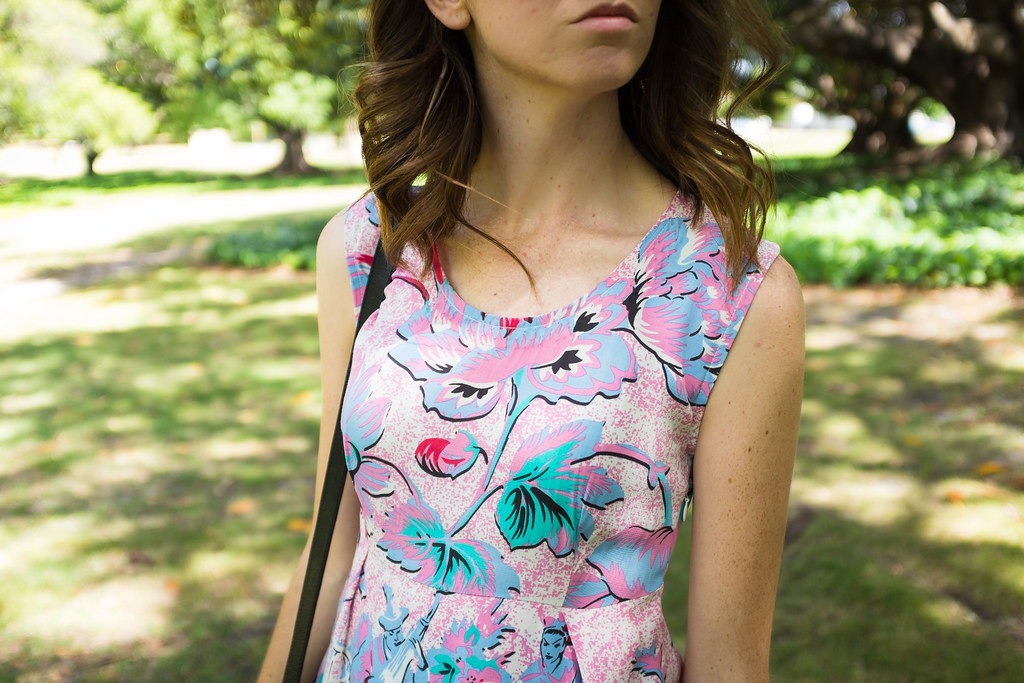
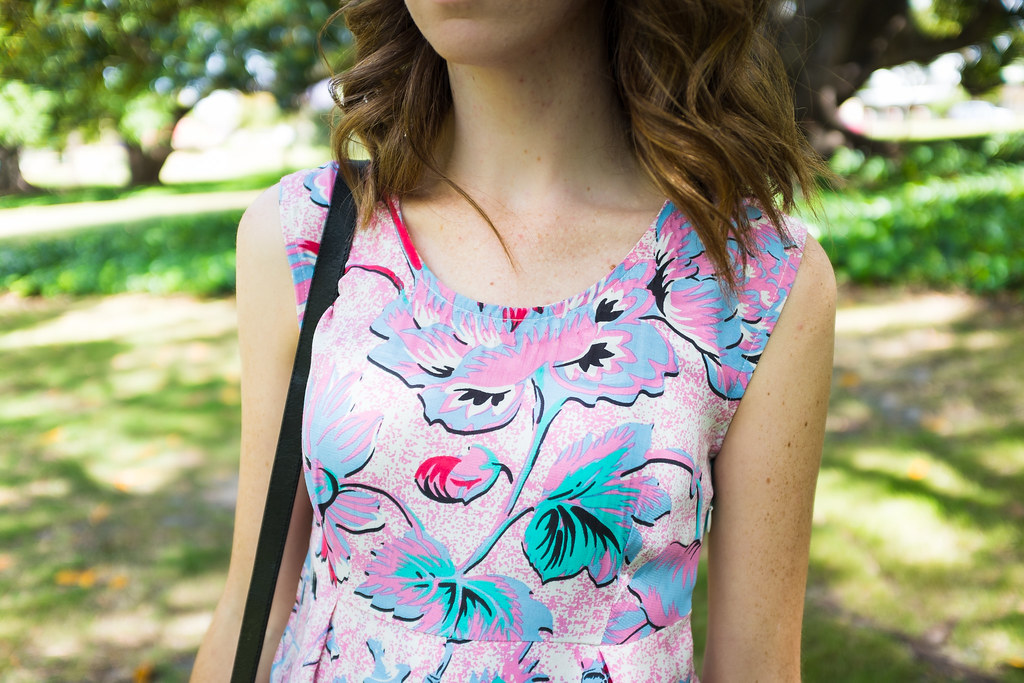
After de-bead-ment
Is this not far more clean and cute?  Yes, I tell you.  I mean, if it really needed beads they could be mint green, right?

DSCF5525
DSCF5522
DSCF5523
DSCF5524
DSCF5527
photos pixelpx

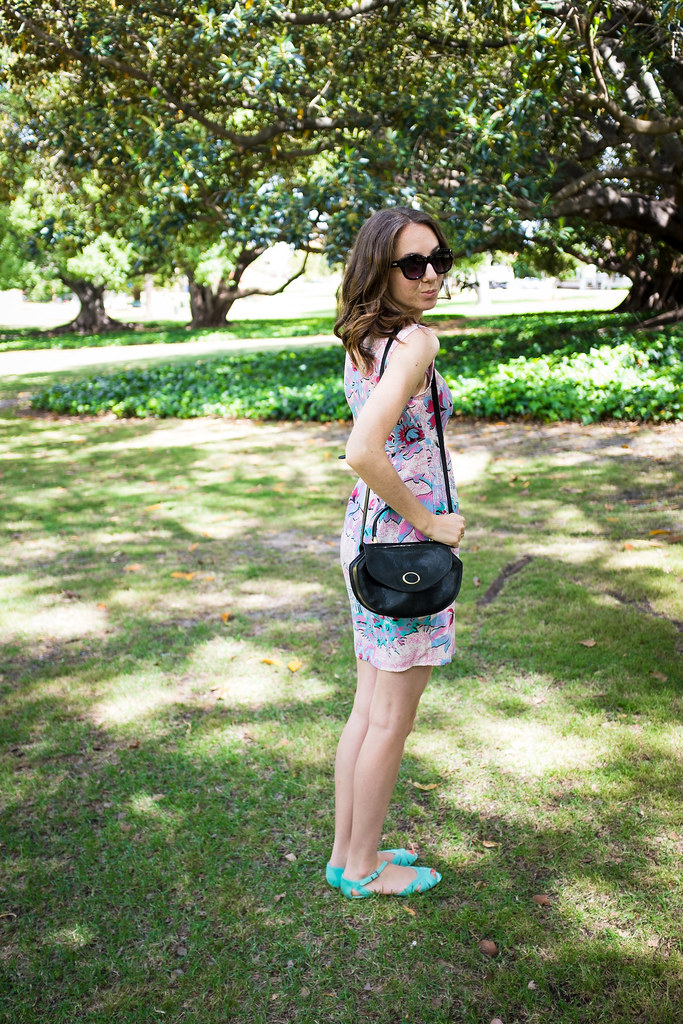
Dress - House of Wilde from The Annex
Sandals - Mimco from Second Time Round
Bag - vintage
Sunnies - Le Specs from General Pants


xx S
SHARE THIS POST

20.9.13

8 comments

DIY: What a Novel Clutch!

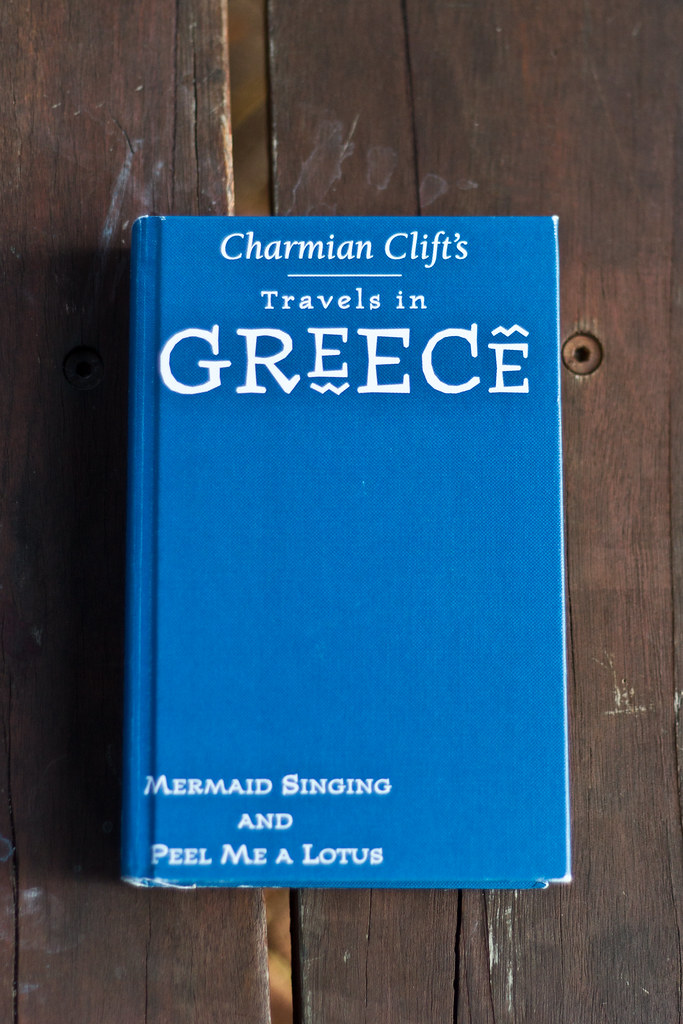
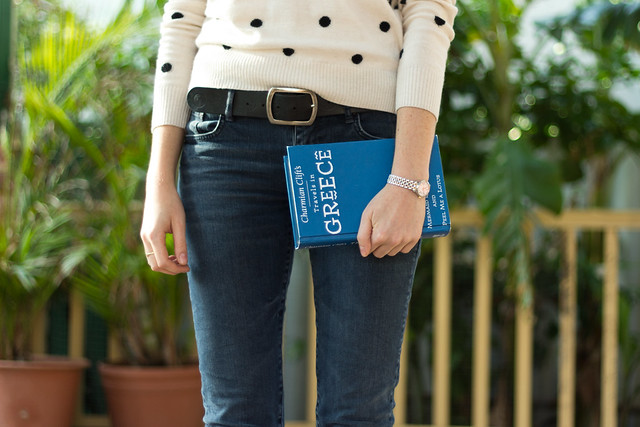
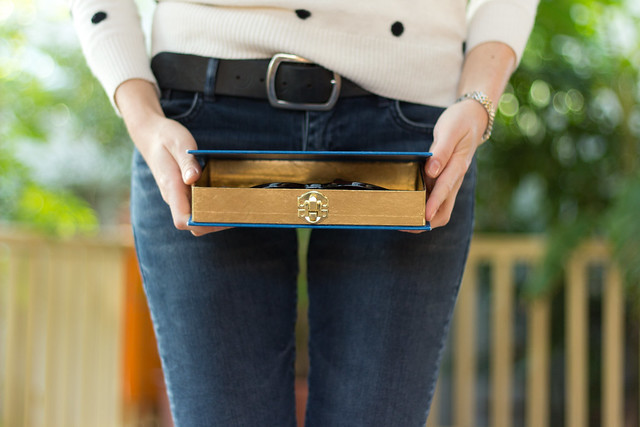
So you think this is a normal book? 
Not quite...

IMG_6754

I loved the book-style clutches the first time I saw them.  As a bookworm from way back (granted the books have sadly become non fiction of late), certain books can bring back so many memories.  Carrying a childhood book in the form of one of these quirky clutches would spark many a conversation, and there's nothing like striking up new friendships with randoms in the street!  (really!)

We decided it was high time to create a Le Fanciulle version of these clutches, since there is an absolute street style epidemic of them and we hardly have the moolah to afford one of Olympia Le Tan's handmade-in-france delicacies.

IMG_6770
IMG_6781

If you want to see how easy it is to make one of these, read through!
SHARE THIS POST

30.8.13

2 comments

DIY Inspiration: Paint It!

tumblr_mqcasqvyPQ1qg5tb3o1_1280

MIH Jeans by Matteo Montanari

There's no reason why you can't just make your own prints.  Go to town with some fabric paint this weekend!

xx T

SHARE THIS POST

23.8.13

No comments

DIY Inspiration: Raw Edges

tumblr_mr8usjGILX1qfu6pbo3_1280

Could we just stop for a moment and admire this photo together?  
No, it's surprisingly not MMM or an equally similar minimalist label at heart, but rather everyone's chain-store high street favourite, Zara.  (We'll also ignore their questionable production ethics for a day).    


Anyway, check out those raw edges on those skirts - a simple DIY for all those too lazy to sew properly!  Take a trip to your local thrift store and hack away at those hems.  And whilst you're at it, tell me the secrets to the eyebrows that the brunette is sporting.  


xx T
SHARE THIS POST

9.8.13

2 comments

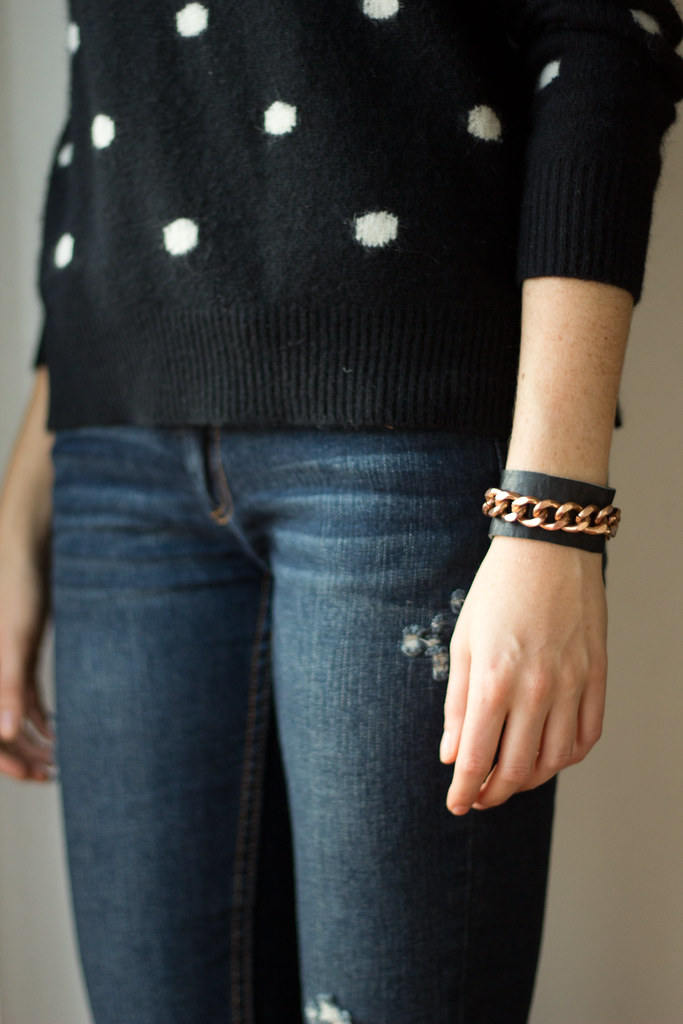
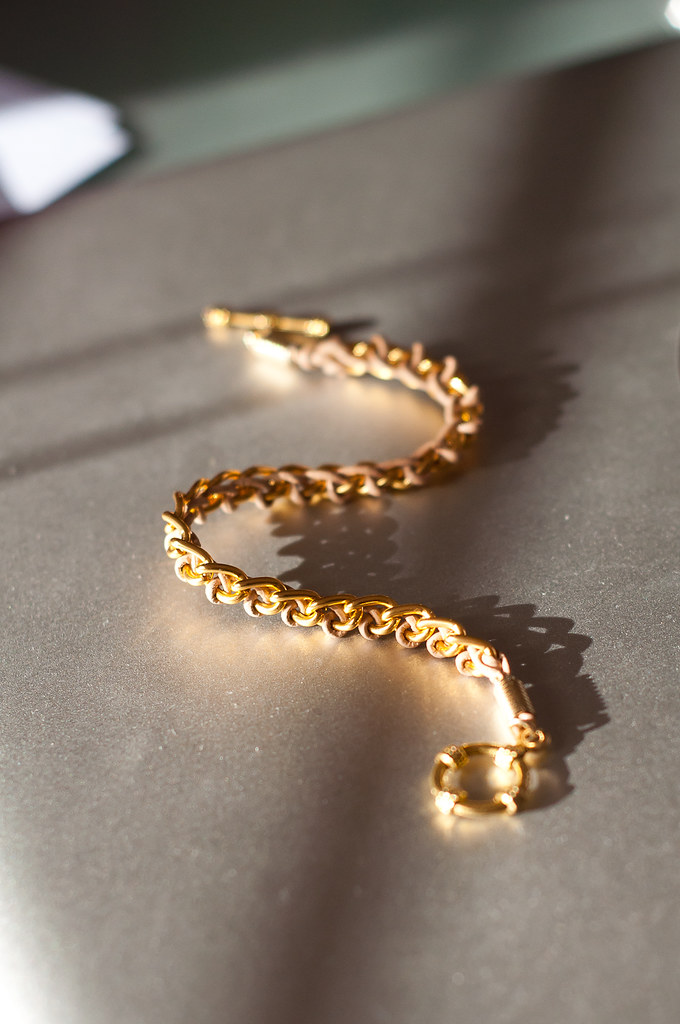
DIY Leather & Chain Cuff

Chain leather cuff (7 of 7)

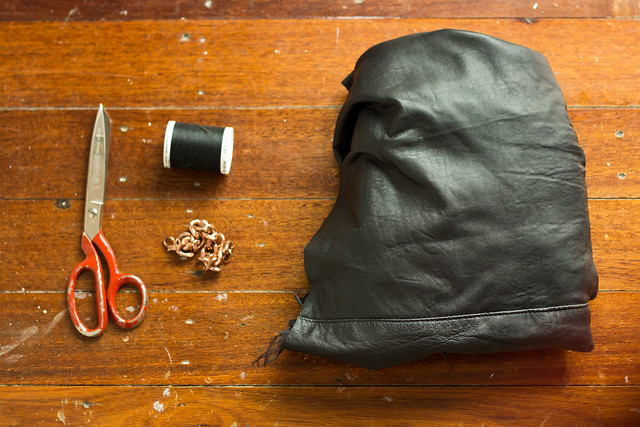
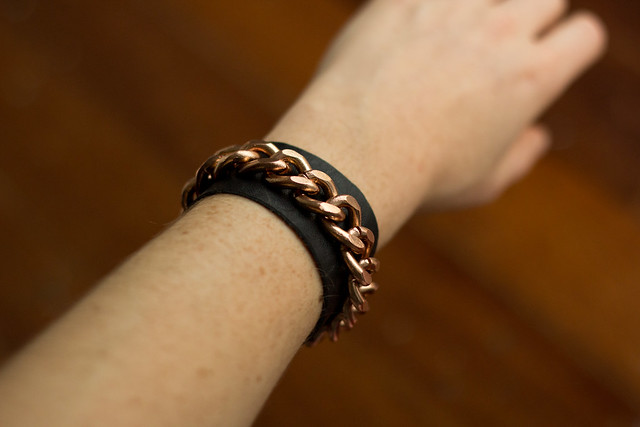
It's a super rainy Friday & today we have a very simple Fendi-inspired leather and chain cuff to show you, which is the perfect easy project for an indoor weekend.  When it comes to DIYs, patience is a virtue I'm severely lacking (unless we're talking hand stitching or beading... I could do that til the cows come home), so I have a tendency towards quick & easy DIYs.  Today is no exception!!

Chain leather cuff (1 of 7)

Materials
1x chunky chain bracelet
Small piece of leather 
(I harvested some from a failed leather pants -> shorts conversion)
Needle & thread

Chain leather cuff (2 of 7)
Chain leather cuff (3 of 7)
Chain leather cuff (4 of 7)
Chain leather cuff (5 of 7)
Chain leather cuff (6 of 7)


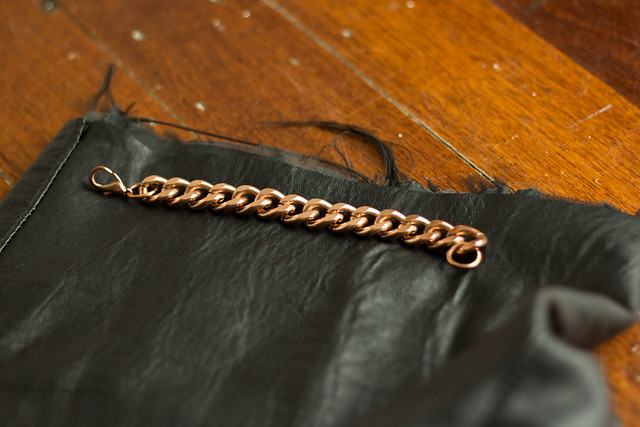
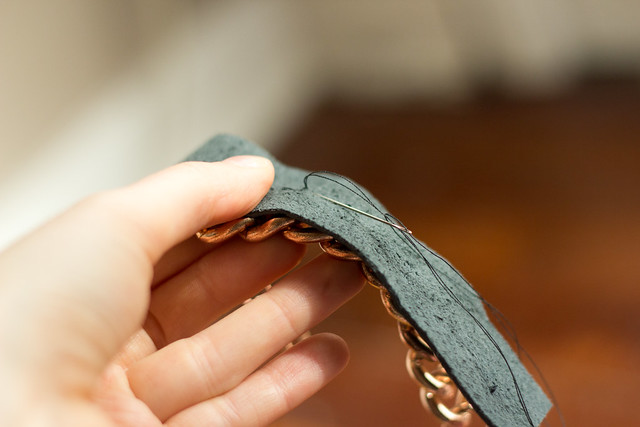
The photos illustrate the very few steps.  The best thing about this project is that if it fails or you hate it, just snip the threads and you have your bracelet back, haha!

I can easily imagine this cuff worn with a plain black dress at night time or (as above) with jeans for day.


Happy weekend :)

xx S
SHARE THIS POST

26.7.13

1 comment

DIY Friday: Simple Sporty Tee #2

1B6A3267_edit

Excuse the repost of the above photo from our shoot last week, but there's something extra nifty about the above picture.  Both of the tees are DIYs!  (#1 was posted last week)
Yup, that's right, you can get in on the sporty tee craze without spending zillions.

Seeing as our free time is currently dying a scrub-cap death, only quick (not to mention cheap) DIYs are on the cards.
Today's tshirt is the quickest ever.  Barely even worth explaining.

Materials
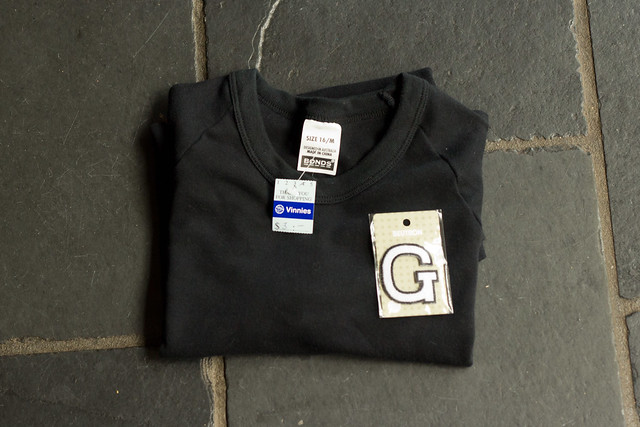
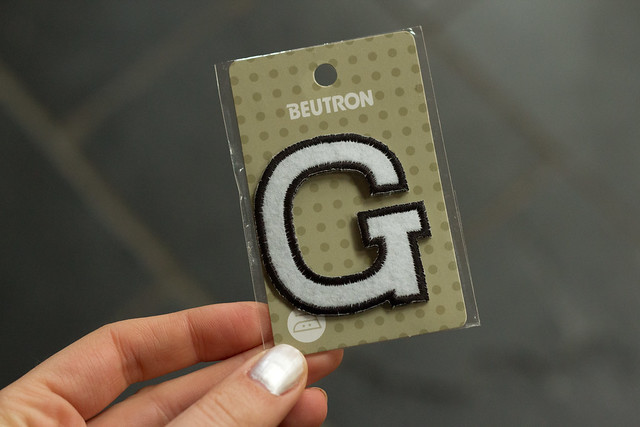
Iron on letter ($3 from Spotlight)
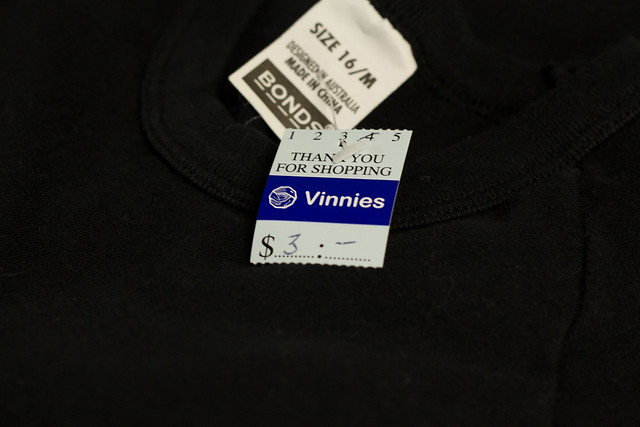
Tshirt ($3 from Vinnies)
A functional iron

G Tshirt DIY
G Tshirt DIY
G Tshirt DIY
G Tshirt DIY
G Tshirt DIY

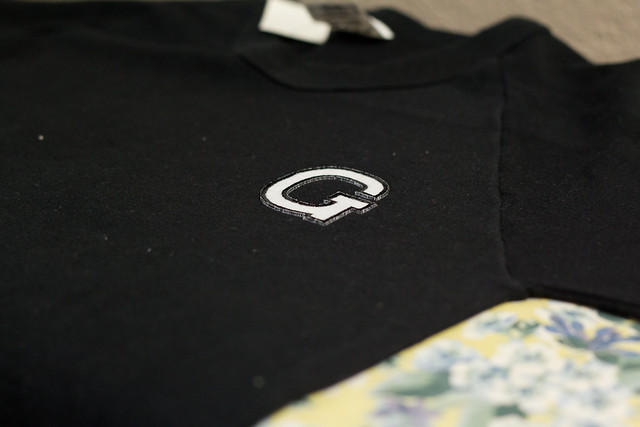
VoilĂ , your sporty tshirt for a measly $6.

You could make a whole word across the front or back, if you wished.  Another idea is to use large iron on numbers a la last year's project.  The possibilities are endless!


Happy weekend :)

xx S
SHARE THIS POST

12.7.13

10 comments

DIY Supplies: Leather Sewing

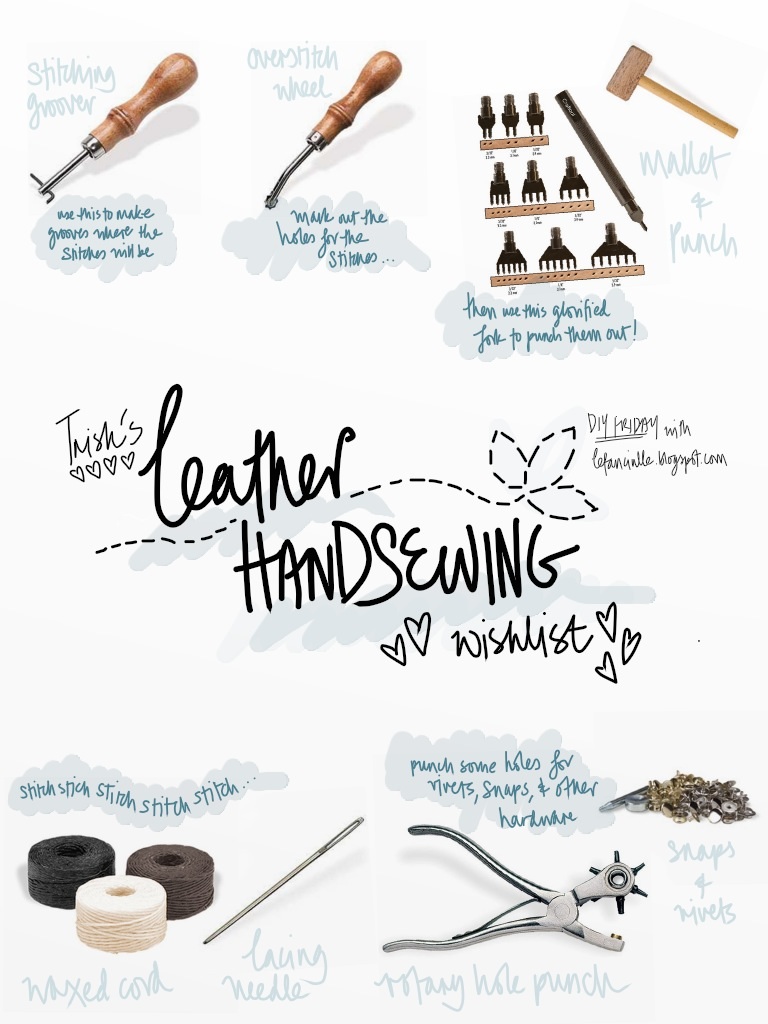
During these holidays (which are now drawing to a close!!!), I wanted so desperately to knock out some DIYs so that we wouldn't be stuck on a dry-run whilst S & I start our surgery rotation.  Helloooo early starts and late finishes.  Unfortunately, being in the financial pickle that I am almost inevitably in, I had to put shopping for DIY supplies lower down on my priorities list so I could spoil S for her birthday, and indulge in bulk-packs of berries.  Oh if only I had a real paying job!  Only 6 months to go...

Anyway, once I pay off the necessities and stow away some savings from my tax return, I will be feeding my current obsession with hand-made leather goods.  If you recall these DIY projects (1 & 2), you'll know that I love a good challenging crafternoon every once in a while.  The issue is when you try to work with leather, it is advisable to have the right tools.  That was a fact I ignored last year.  So perhaps my projects will be more successful this time when I invest in these bits and bobs - BEHOLD:  

image

Pictures from Tandy Leather, although I'm probably going to be supporting local when I buy!


For those experienced leather-crafters out there, what do you think?  Have I covered everything I'll need to start out?


Details when I get my loot!
And suggestions for what I should make are welcome :)

xx T
SHARE THIS POST

5.7.13

6 comments

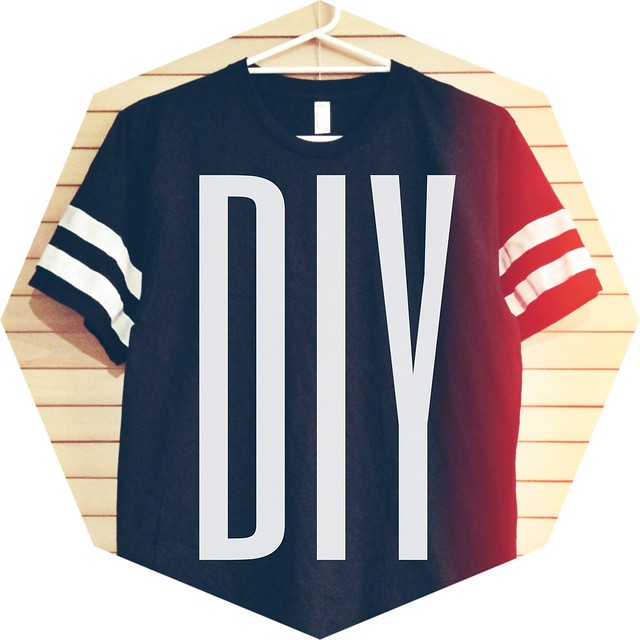
DIY Sporty Tee

DIY Friday sports shirt


Yeahhh... nahhh... 

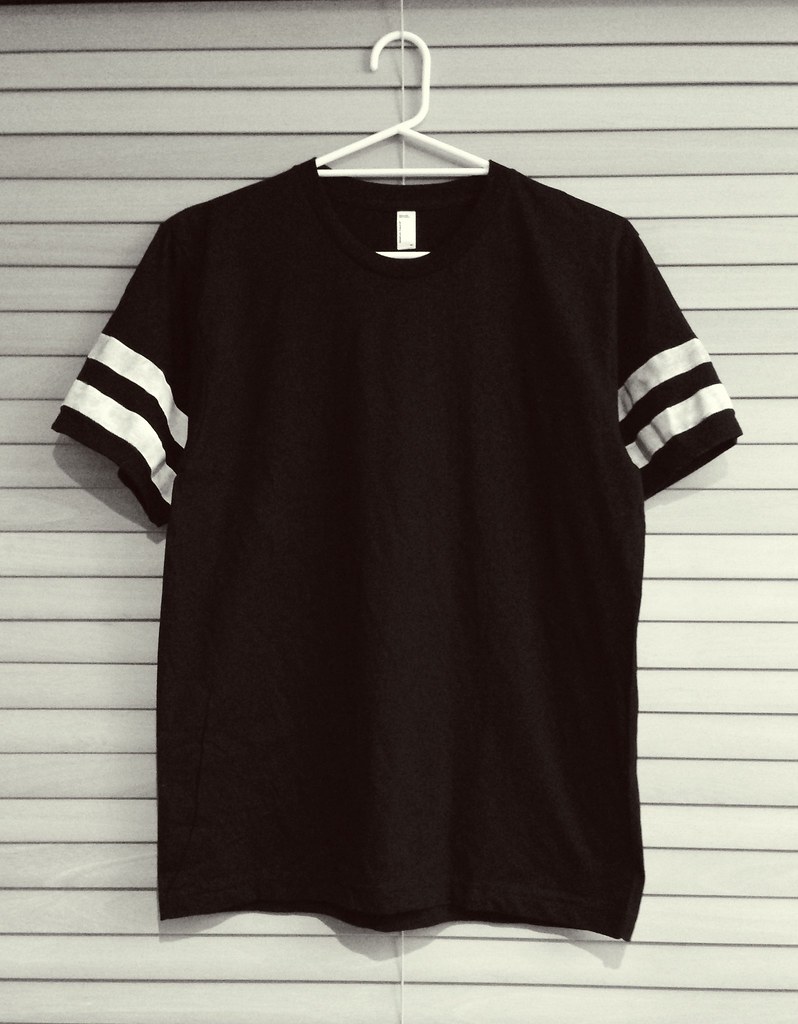
You know that I'd rather spend my forty schmackaroons on blueberries or some other equally pretentious-but-tasty food.  It's also pretty much sold out on MarketHQ anyway, so why fret?  Just make your own!  Solve your own problems!  Be your own demi-god(ess)!  Join the "sports-luxe" trend!  We all win!

Details after the jump!
DIY Sporty Tee

DIY Friday sports shirt

Rustle up:
An oversized tshirt.  Stolen from boyfriend/fiancee's stash = better.
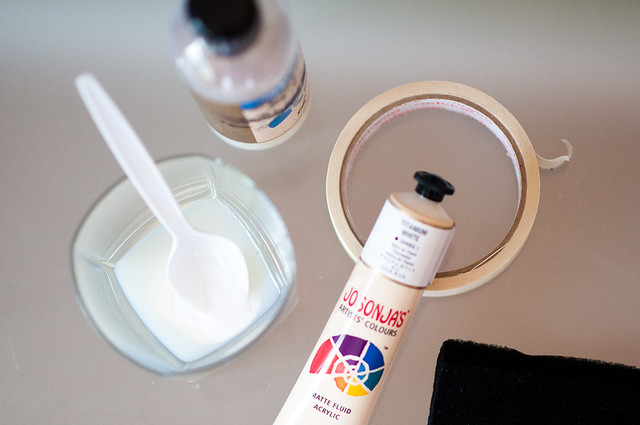
Masking tape (~1 inch width)
Fabric paint in the colour of your choosing
Plastic bags
Sponge brush

Le Fanciulle (1 of 7).jpg

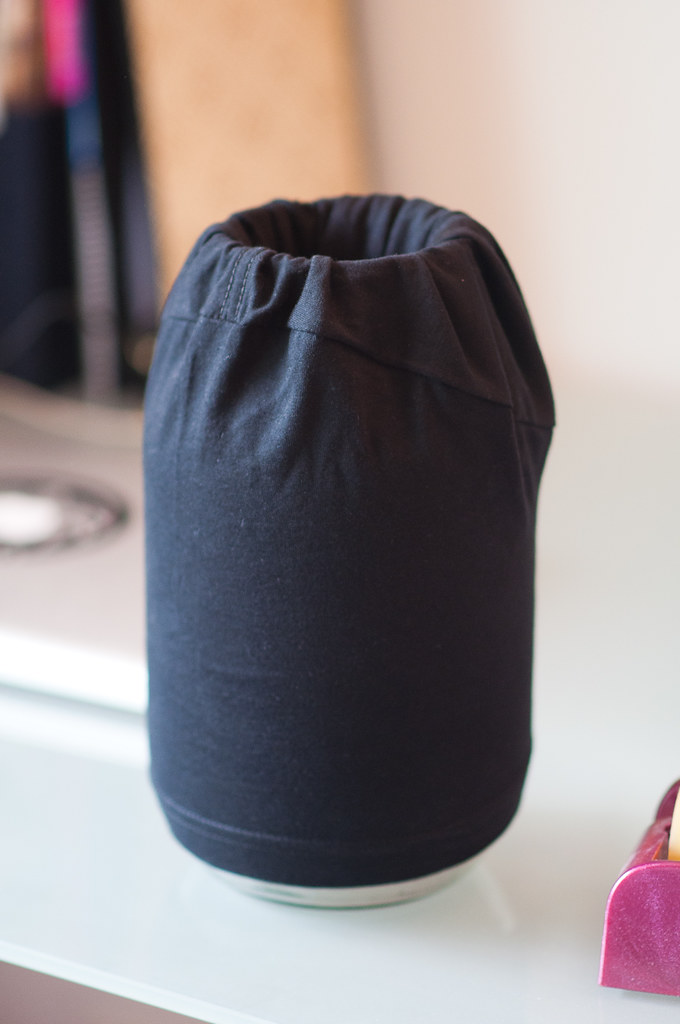
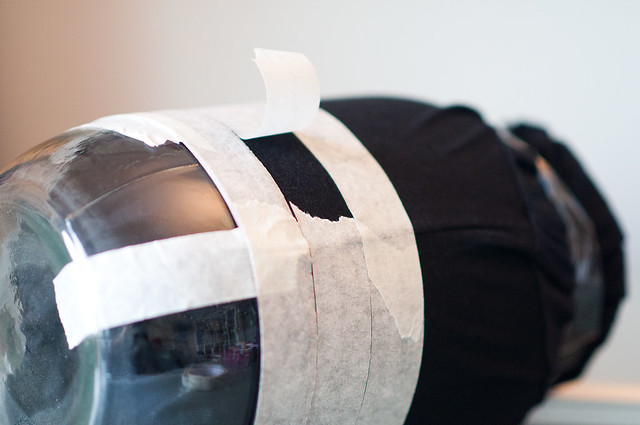
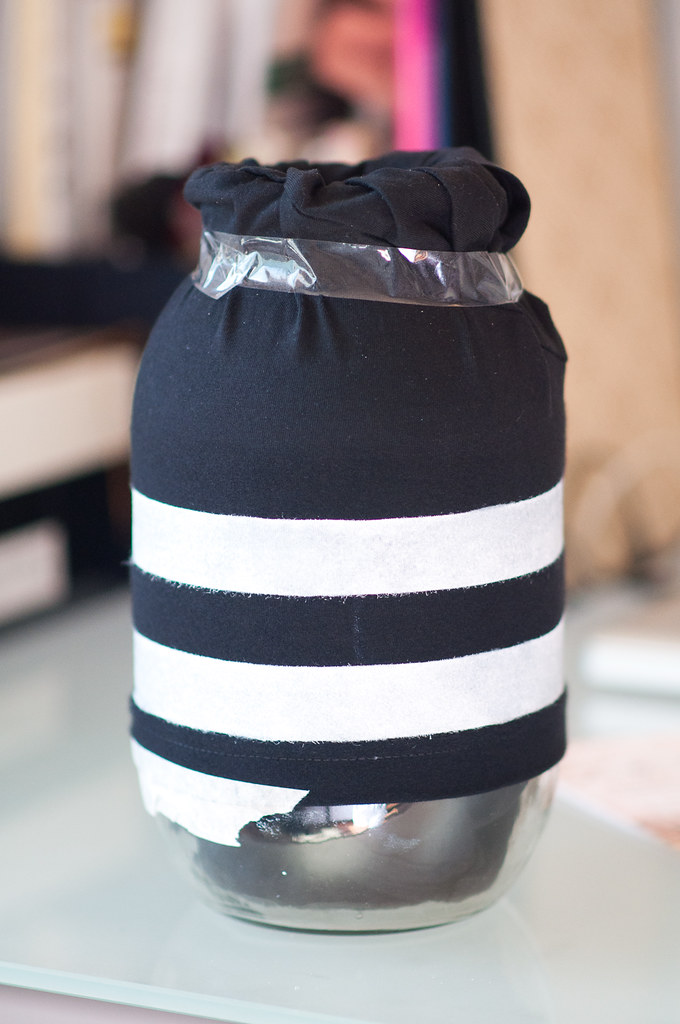
Firstly, stuff a sleeve so that the material sits relatively taught over the area you're going to paint.  I used a giant bottle, but you could also use some plastic bags filled with newspaper, or a balloon.  Whatever it is, just beware that paint may seep through onto it!

Le Fanciulle (3 of 7).jpg

Start taping carefully from the edge of the sleeve.  The middle strip of masking tape acts as a spacer so that your gaps are even - just pull this off and re-use it for the top space (see below):

Le Fanciulle (4 of 7).jpg

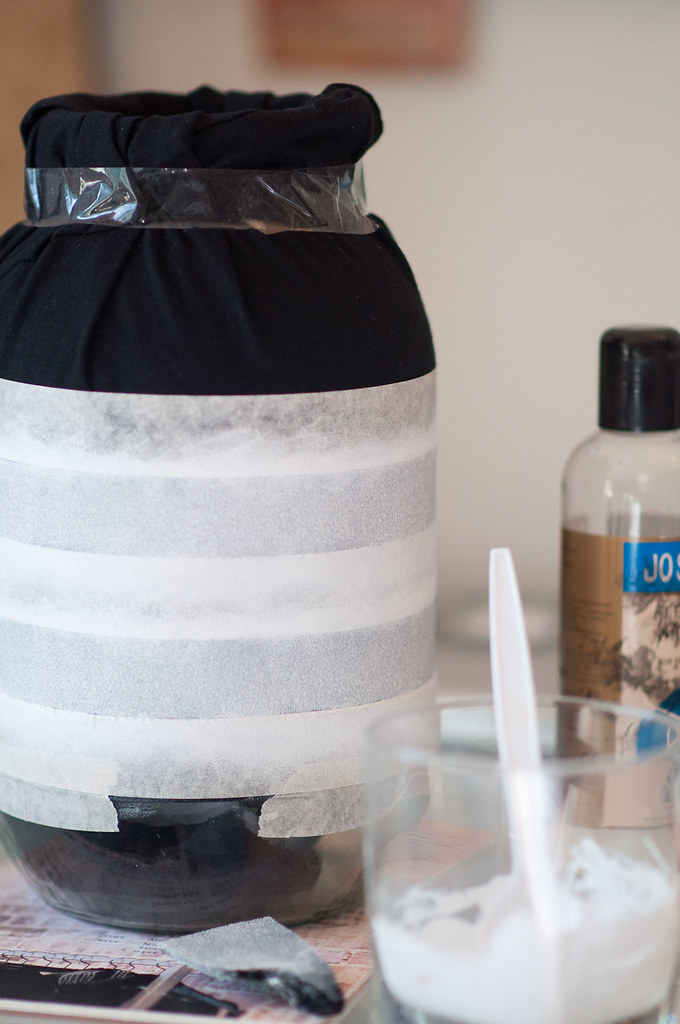
Once you've got all your masking tape in place, pull off the spacer strips where you want the paint to go.  Then press firmly on the remaining tape to make sure you get a good seal.

Le Fanciulle (5 of 7).jpg

Get your fabric paint - I use acrylic mixed with textile medium because it worked out cheaper to buy lots of different acrylic colours.

Le Fanciulle (6 of 7).jpg

GENTLY sponge your paint on.  It might need a fair few coats if you're going white-on-black like mine!  And be careful not to get paint on your fingers then transfer it onto the fabric by accident...  A damp towel fixes most ham-fisted blunders.

Le Fanciulle (7 of 7).jpg

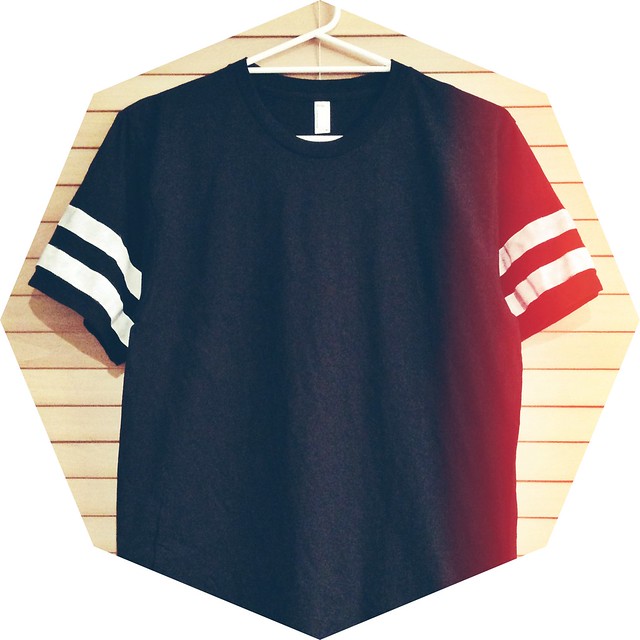
Once you've finished sponging, let the paint dry to touch then take the bottle/form/etc out of the sleeve BEFORE the paint sets fully.  Otherwise you get weird stretchy vs non-stretchy bits which look odd (take a long hard look at the left sleeve in particular).

Do the same on the other side, then you're done!  Too simple!

DIY Friday sports shirt

*filthy hipster photo filters and frames not included.

xx T

SHARE THIS POST

28.6.13

15 comments

DIY Leather & Chain Bracelet

Le Fanciulle (10 of 19).jpg

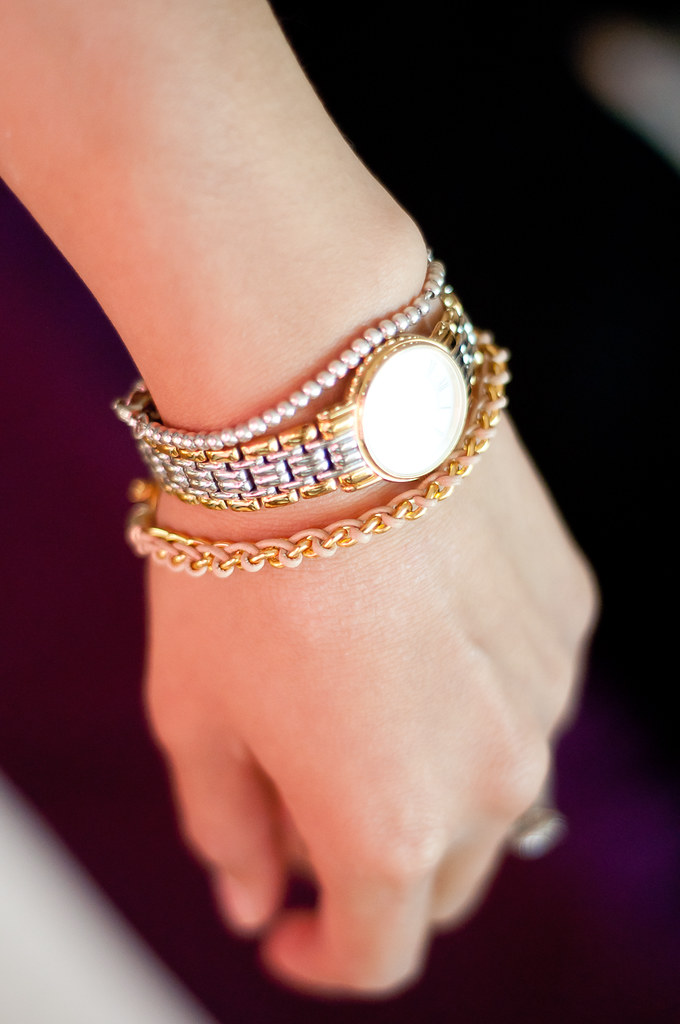
Today we've only got one more hurdle until our long-awaited 2-week holidays!  It's a psychiatry exam, so who knows how it'll go.  That aside, we will soon be able to go crazy with ze olde blog and some DIY projects that have been a-waiting so patiently to be done.  Mucho excitement!

Today's DIY Friday project is an easy-peasy bracelet (which looks harder than it really is!) - if you can't get hold of leather cord, then you can substitute it for something else.  I won't judge you if you buy faux leather.  Just don't tell me.

DIY Leather & Chain Bracelet

Le Fanciulle (13 of 19).jpg

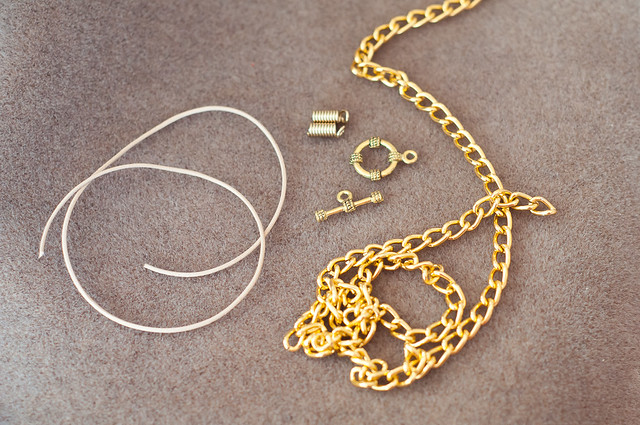
Materials:
A length of chain (your choice of colour, but make sure it's big enough for the leather cord to be threaded through)
Leather cord
Beading fixings & clasp (as shown above)
Scizzorzzz & pliers

Le Fanciulle (1 of 19).jpg

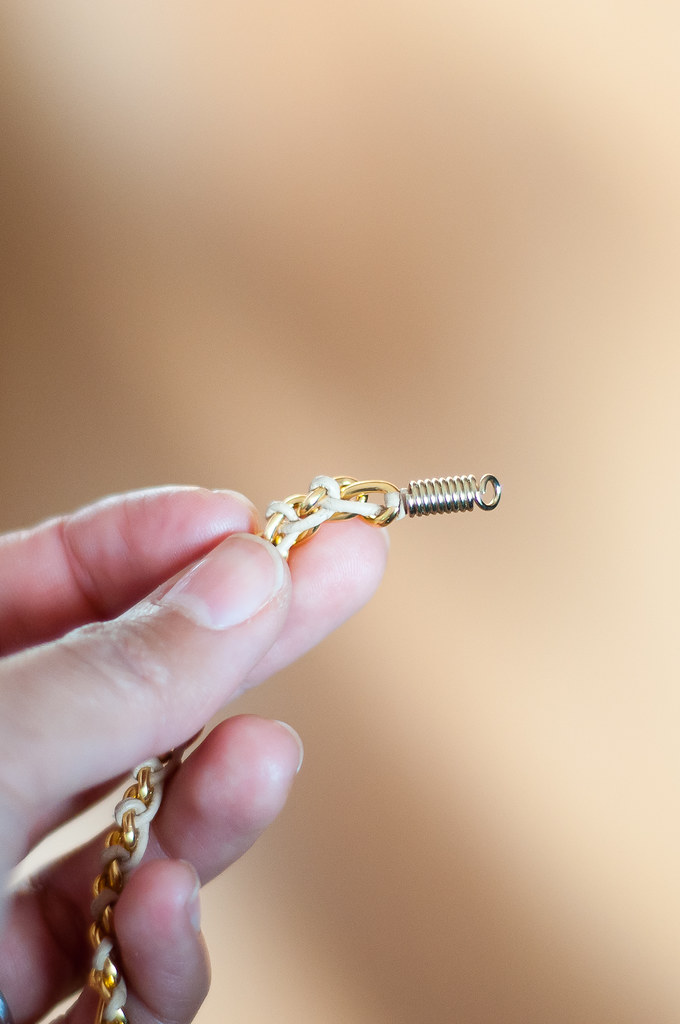
Start off by jamming one end of the leather cord into the twisty coil thing.  Use your pliers to clamp it down so the leather cord is secure and can't come loose.

Le Fanciulle (2 of 19).jpg

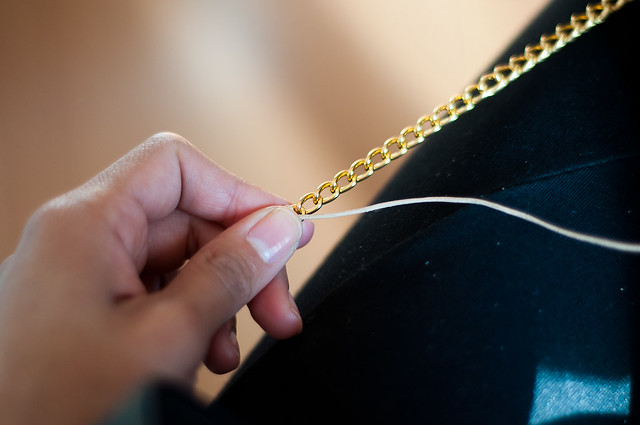
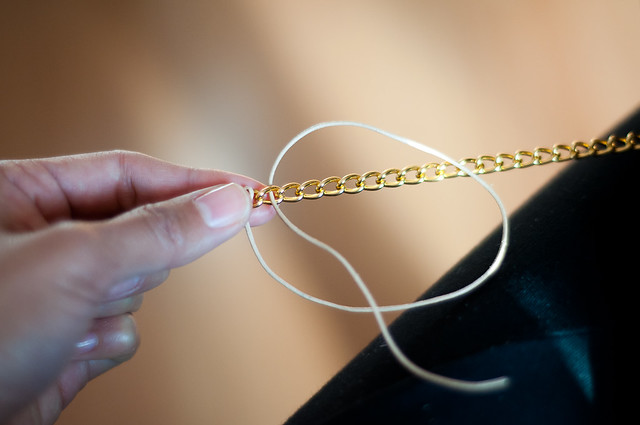
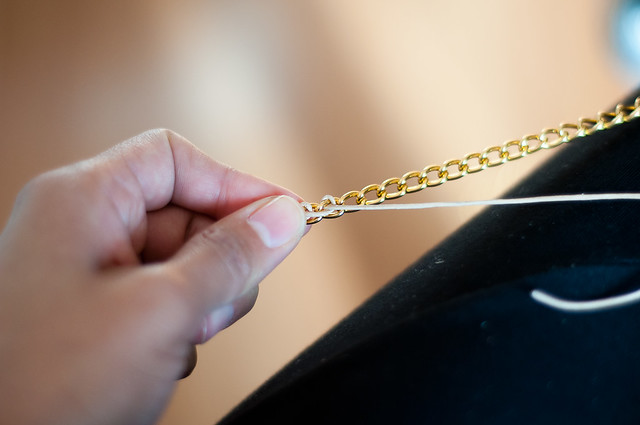
Once that's done, thread the cord through the first loop of your chain, pulling it through to the end where the twisty thing is secured.  Hold on tight!  Time for some loopy-doopy moves:

Le Fanciulle (4 of 19).jpgLe Fanciulle (5 of 19).jpgLe Fanciulle (3 of 19).jpg

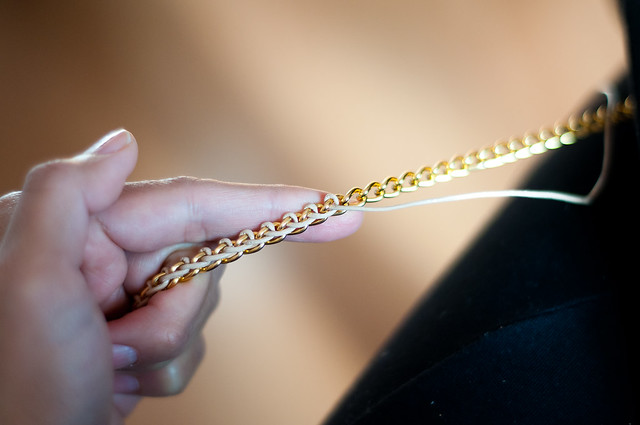
Loop the cord OVER to the back of the chain, stick it THROUGH the hole so it comes out the FRONT, and make sure it loops through the cord left over from the front.  Pull it tight.  Does that even make sense?  I can't say I'm great at explaining random things like this, so I hope the photos suffice.

Le Fanciulle (6 of 19).jpg

Keep looping until you get to your desired length.

Le Fanciulle (8 of 19).jpg

Once you get to the end, jam the leather cord into another one of those spiral end thingos and clamp it tight so your hard loopy work doesn't come undone.

Le Fanciulle (9 of 19).jpg

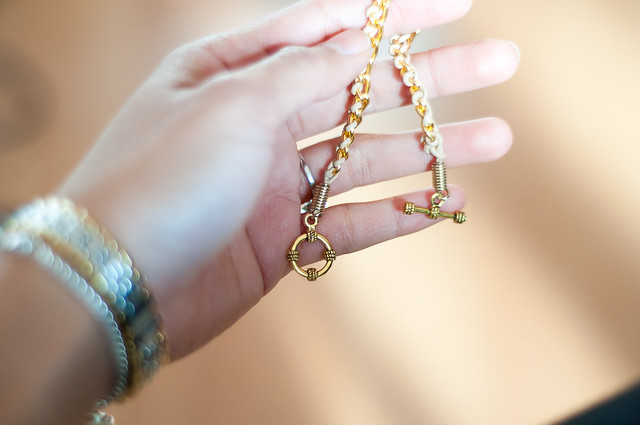
Attach the clasps, and you're done!

Le Fanciulle (11 of 19).jpg

xx T


SHARE THIS POST
Le.Fanciulle. All rights reserved. © Maira Gall.